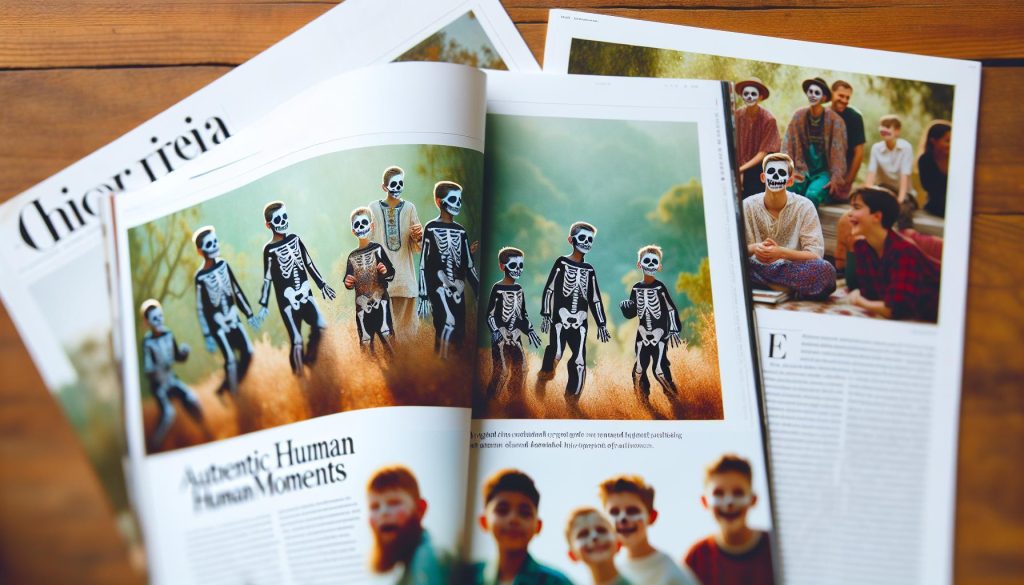
When Halloween rolls around, creating a spooky yet fun look for kids can be a thrilling experience-but it can also feel daunting for parents. Skeleton makeup is a fantastic choice! It’s not only visually striking but also allows for creativity and bonding time as you transform your little ones into charming, bone-chilling characters. In this guide, we’ll walk you through easy steps to achieve impressive skeleton makeup that’s perfect for your child’s Halloween festivities or themed parties. With simple techniques and accessible materials, you can make this Halloween memorable without overwhelming yourself or your child. Dive into this fun adventure, and let’s ensure your kids shine as the stars of the spooky season!
Choosing the Right Skeleton Makeup Products for Kids
When preparing to do skeleton makeup for kids, selecting the right products is crucial for not only achieving a stunning look but also ensuring safety and comfort. Kids have sensitive skin, so it’s important to choose non-toxic, hypoallergenic products specifically designed for children. Look for face paints or makeup kits labeled as safe for kids; these are usually water-based and easier to remove than traditional makeup.
Additionally, you might want to steer clear of products with harsh chemicals or strong scents that can irritate young skin. Instead, consider options like cream face paint or makeup crayons, which allow for detailed application and are easy to control. Products with fun colors, such as black, white, and maybe even a touch of sparkle, can elevate the typical skeleton look, making sure your little one stands out while keeping things age-appropriate.
When browsing for makeup, consider the following points:
- Ingredients: Always check the label for FDA-approved, child-safe ingredients.
- Coverage: Cream-based paints tend to offer better coverage compared to powders, making them ideal for creating bold skeleton features.
- Ease of Removal: Water-based face paints are easier to wash off, which is especially helpful for restless kiddos.
Finally, don’t forget to include some setting powder to help the makeup last longer through a night of Halloween fun. By thoughtfully choosing safe, appropriate products, you can ensure that the skeleton makeup experience is enjoyable, comfortable, and beautifully bone-chilling!
Step-by-Step Skeleton Makeup Tutorial for Beginners
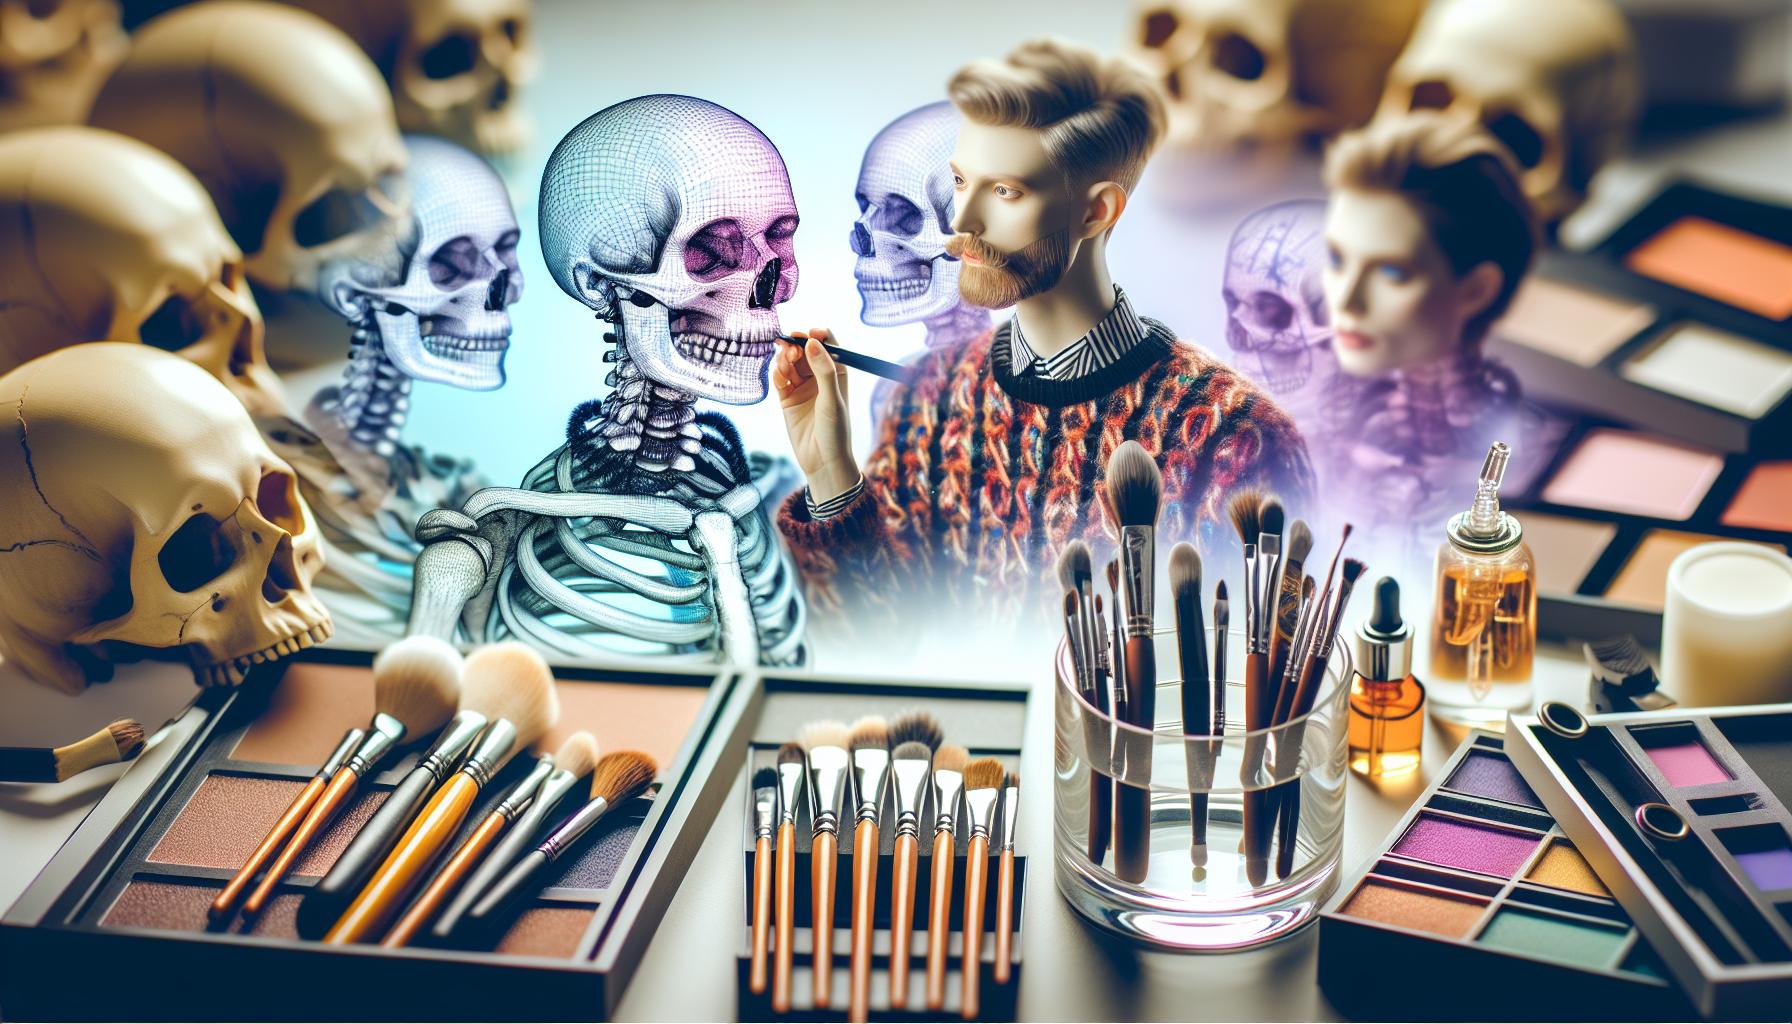
To create a captivating skeleton makeup look for kids, it’s all about blending creativity with comfort. This step-by-step guide will take you through the process, ensuring even the youngest participants can join in the fun without any fuss. Get ready for some bone-chilling results that will wow friends and family!
Start by preparing the skin. Lay down a clean surface and make sure the child’s face is free of dirt and oils. Apply a gentle moisturizer to help the makeup go on smoothly and keep their skin hydrated. Wait for a few minutes to allow it to absorb before starting with the makeup. Next, grab your cream face paint or a safe, hypoallergenic white face paint. Using a makeup sponge or a soft brush, apply the white paint evenly across the entire face. Aim for a thin layer to avoid any heavy build-up, which can feel uncomfortable; typically, a dime-sized amount should suffice.
Once the face is covered, focus on the eye areas. Use a black face paint to create the hollow eye sockets, which is a key feature of the skeleton look. For this, dip a small brush in the black paint and gently outline large shapes around the eyes, filling them in carefully. Make sure the child stays still to avoid needing to redo any areas. After that, it’s time to bring the skeleton to life by adding details with a fine brush. Draw thin, jagged lines on the cheeks to mimic cheekbones. Adding a few cracked lines around the forehead and temples can also enhance the overall appearance.
Let’s not forget about the mouth! Using the black face paint again, create a wide grin that extends beyond the lips. Draw vertical lines inside the mouth outline to resemble teeth. This step can be a fun moment to engage the child, letting them decide how scary or silly they want to look. After the face is done, consider a few finishing touches, such as a light dusting of setting powder to reduce shine and help the makeup last through the festivities.
Finally, to complete the look, don’t shy away from fun accessories! Think about adding a skeleton costume, fun jewelry, or temporary tattoos for extra flair. Remember, the key to a successful skeleton makeup session is patience and a sense of fun! Keep the atmosphere light, encourage creativity, and ensure the child feels comfortable throughout the process. Now go ahead and enjoy the process of transforming into a spooky skeleton!
Essential Tips for Safe and Easy Application
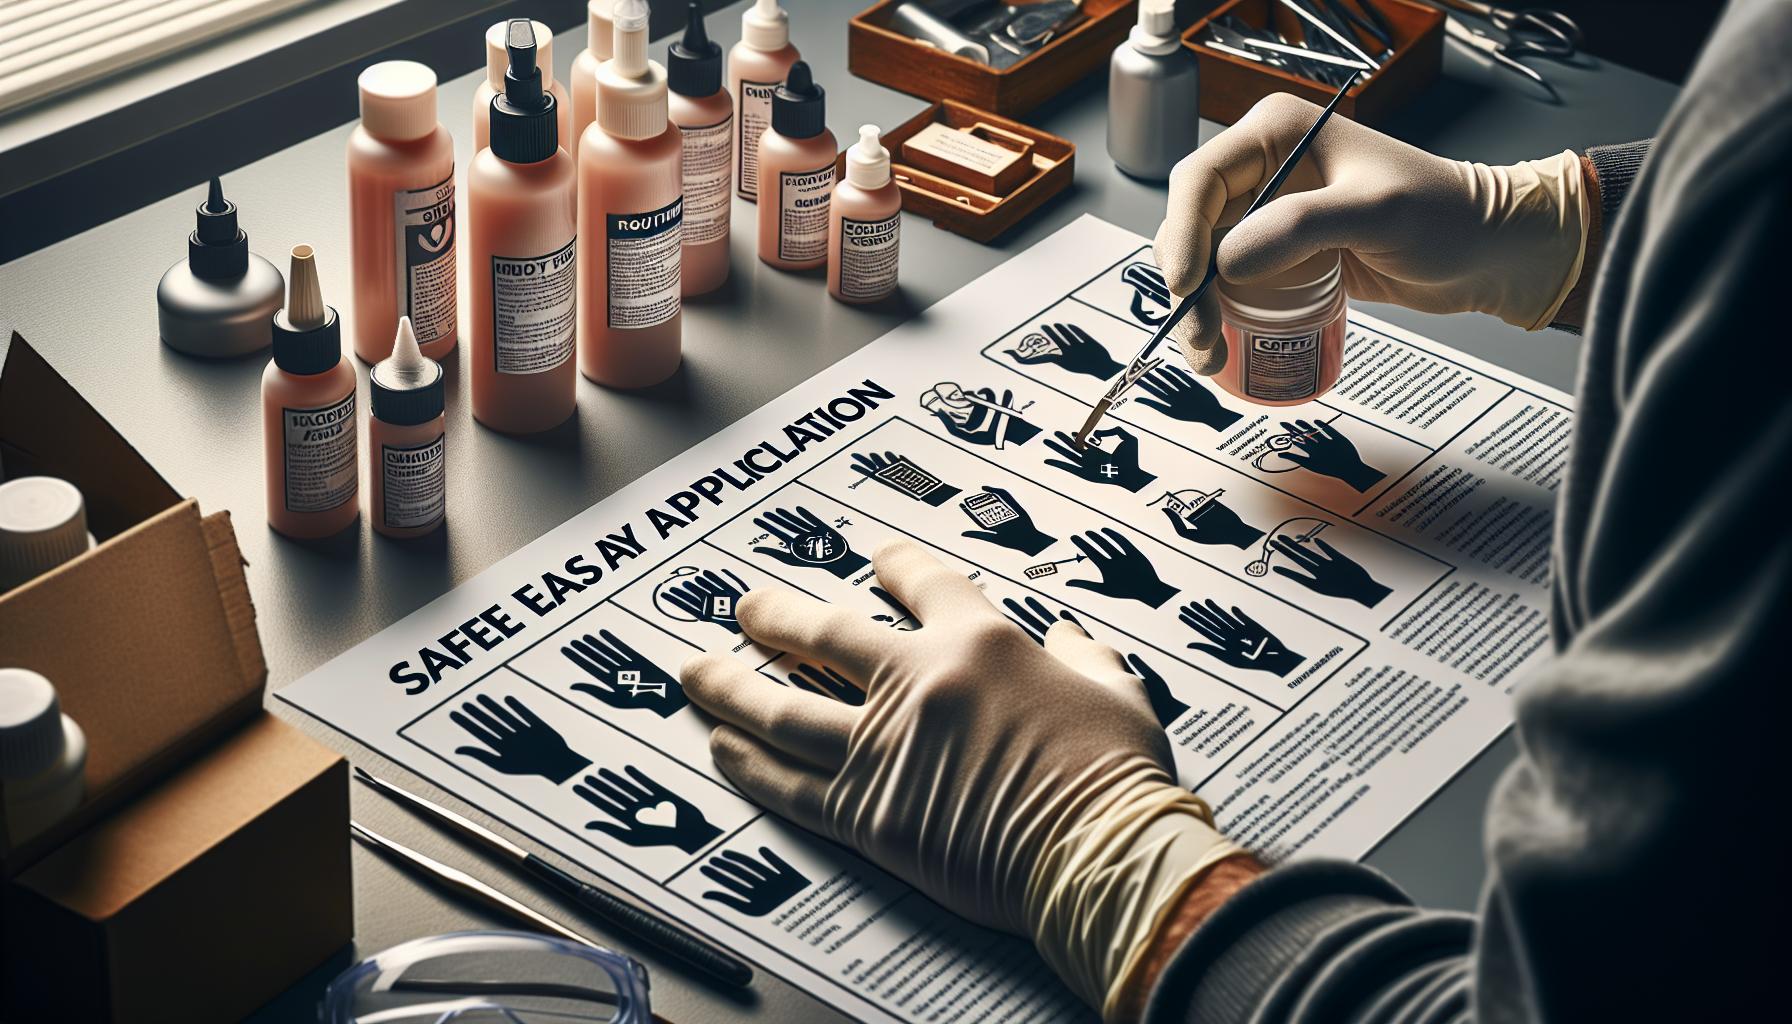
Creating skeleton makeup for kids can be a fun and creative experience, but it’s important to prioritize safety and ease throughout the process. One of the first things to remember is that children’s skin is often more sensitive than adults’, so choosing the right products is crucial. Look for hypoallergenic, non-toxic, and washable face paints that are specifically designed for use on children. Always do a patch test by applying a small amount of paint to a discreet area of skin, like the inside of the wrist, and waiting 24 hours to ensure there’s no reaction.
While applying makeup, comfort should be key. Start by applying a light layer of a gentle moisturizer to create a smooth base-this helps the makeup glide on better and prevents it from drying out the skin. Once the foundation is set, encourage your little one to sit still and keep their head steady, as movement can lead to uneven application. Using a makeup sponge or a soft brush can make the process smoother; aim for dime-sized amounts of product to avoid heavy layers that might feel uncomfortable.
As you proceed with the design, consider using child-friendly makeup wipes nearby. This not only allows for quick corrections for any slips or spills but also reassures kids that mistakes are part of the fun. In the event that they’re feeling overwhelmed or uncomfortable, it’s completely fine to take breaks. You might even want to create a small “chill-out zone” where they can relax if they need a moment away from the makeup chair.
Finally, when you’re finished with the look, be sure to discuss how to care for the makeup throughout the day. Explain to them not to touch their face too much and to stay away from water if it’s not intended for their makeup design. Keeping a lighthearted and encouraging atmosphere will help ensure that the experience is enjoyable and memorable. By focusing on these essentials, you can create a safe, hassle-free environment where kids can fully embrace their skeleton transformations!
Creative Variations: Skeleton Makeup Ideas for All Ages
Getting creative with skeleton makeup opens up a world of possibilities for all ages, allowing everyone to express their spooky side in unique ways. Whether you’re looking for simple designs for kids or intricate patterns for adults, there are plenty of ideas that can elevate your skeleton transformation from ordinary to extraordinary.
For children, consider adding fun and colorful elements to the classic black and white skeleton look. Using bright colors like neon pinks, greens, or blues can transform a traditional skull into a playful character. Kids can have fun with sparkle or shimmer products, turning their skeleton makeup into something festive and vibrant. For example, use glittery face paint for cheekbones or glitter gel to create a dramatic eye look that makes the skeleton design pop. This not only makes the makeup more appealing to kids but also gives them a chance to express their creativity.
As you explore variations for older children and adults, think about styling options that incorporate fashionable elements. A “glam skeleton” look can be achieved by using a mix of metallic gold or silver face paint, striking bold eye makeup, and adding false lashes or rhinestones. Another popular idea is the “sugar skull” style, which combines traditional skeleton makeup with bright, floral designs, allowing for intricate detailing and personal touches. Using a fine brush, you can create elaborate patterns on the forehead, cheekbones, and around the mouth, making it a standout choice for the spooky season.
Lastly, consider the impact of accessories. Outfits can be paired with accessories like skull-themed hairpins, chandeliers, or even a stylish black hat to elevate the entire look. Body art that mimics bones, applied to arms or legs, can add depth and intrigue to your costume. Don’t forget about themed props like faux weapons or skeleton gloves, which can enhance the overall aesthetic. The key is to blend creativity with personal style, ensuring that your skeleton makeup resonates with your personality and the overall vibe you wish to convey.
Creating a skeleton look can be as simple or elaborate as you want it to be. By mixing colors, patterns, and accessories, everyone-regardless of age-can have fun expressing their unique take on this classic Halloween theme.
Must-Have Tools for Perfecting Skeleton Makeup
Creating a stunning skeleton makeup look doesn’t require professional skills, but having the right tools can make all the difference. Whether you’re helping kids transform into playful skeletons or guiding teens through more elaborate designs, the right makeup essentials can ensure bone-chilling results that are both fun and safe. Here’s what you need in your makeup kit to get started.
To begin, invest in a good quality face paint or makeup kit that includes black and white shades as the primary colors for your skeleton look. Brands specifically designed for face painting, such as Snazaroo or Mehron, have options that are gentle on the skin and easy to remove, making them ideal for children. For added color, consider palettes that incorporate bright hues or shimmer, enabling creative variations beyond the classic skeleton design.
Next, practical application tools are a must. Brushes and sponges come in various sizes to help you achieve different effects. A large, flat sponge can cover larger areas quickly, while fine brushes are essential for detailing bones, teeth, and any creative elements. For finer lines or intricate designs, a liner brush works best. Additionally, having cosmetic stencils for bones can be a game-changer, especially for beginners. They help create clean, consistent shapes without the need for advanced brush control.
Don’t forget the finishing touches! A setting spray will help your makeup last longer and look fresh throughout the festivities. It’s especially useful for kids who are active and may sweat or touch their faces. For those aiming for a more dramatic flair, adding accessories like glitter or rhinestones can elevate the look, turning a simple skeleton transformation into a dazzling show-stopper.
Lastly, make sure to have makeup removal wipes or a gentle cleanser ready for easy cleanup at the end of the day. This not only helps maintain healthy skin, but it also ensures that the fun doesn’t end with tears from stubborn makeup. By equipping yourself with these essential tools, you’ll be well on your way to creating fantastic skeleton looks that everyone will love!
How to Adapt Skeleton Makeup for Different Skin Types
When it comes to creating a stunning skeleton makeup look, adapting the techniques to suit different skin types is key to ensuring comfort and achieving the desired effect. Each skin type-whether oily, dry, normal, or sensitive-has its own unique needs, so understanding these variations will help you choose the right products and application methods.
For oily skin, it’s essential to use oil-free face paints that can withstand shine and sweat. Start with a mattifying primer to create a smooth base, then apply a water-based face paint or powder that is specifically designed to control oil. Setting the look with a translucent powder can further reduce shine, making sure your skeleton makeup stays crisp throughout the festivities.
If you’re working with dry skin, hydration is crucial. Begin by applying a hydrating primer or moisturizer to create a supple canvas. Look for cream-based face paints that provide a more moisturizing finish. Opt for a setting spray that adds a dewy effect rather than a matte one; this will keep the makeup from looking flaky or patchy as the day goes on.
For those with sensitive skin, it’s vital to choose hypoallergenic products that are free from harsh chemicals and fragrances. A patch test on a small area of skin ahead of time can help to identify any potential reactions. Additionally, using a gentle makeup remover after the event will help ensure your child’s skin doesn’t experience any irritation from the makeup.
Finally, normal skin can typically use a wider range of products. Here, you can experiment with both cream and powder products. Regardless of the skin type, ensure that proper removal techniques are followed at the end of the day to maintain skin health.
In summary, tailoring skeleton makeup to different skin types involves selecting appropriate products that cater to those specific needs. By considering factors like skin texture and hydration levels, you’ll be able to create a comfortable and visually stunning skeleton look for everyone involved.
Fixing Common Mistakes in Skeleton Makeup
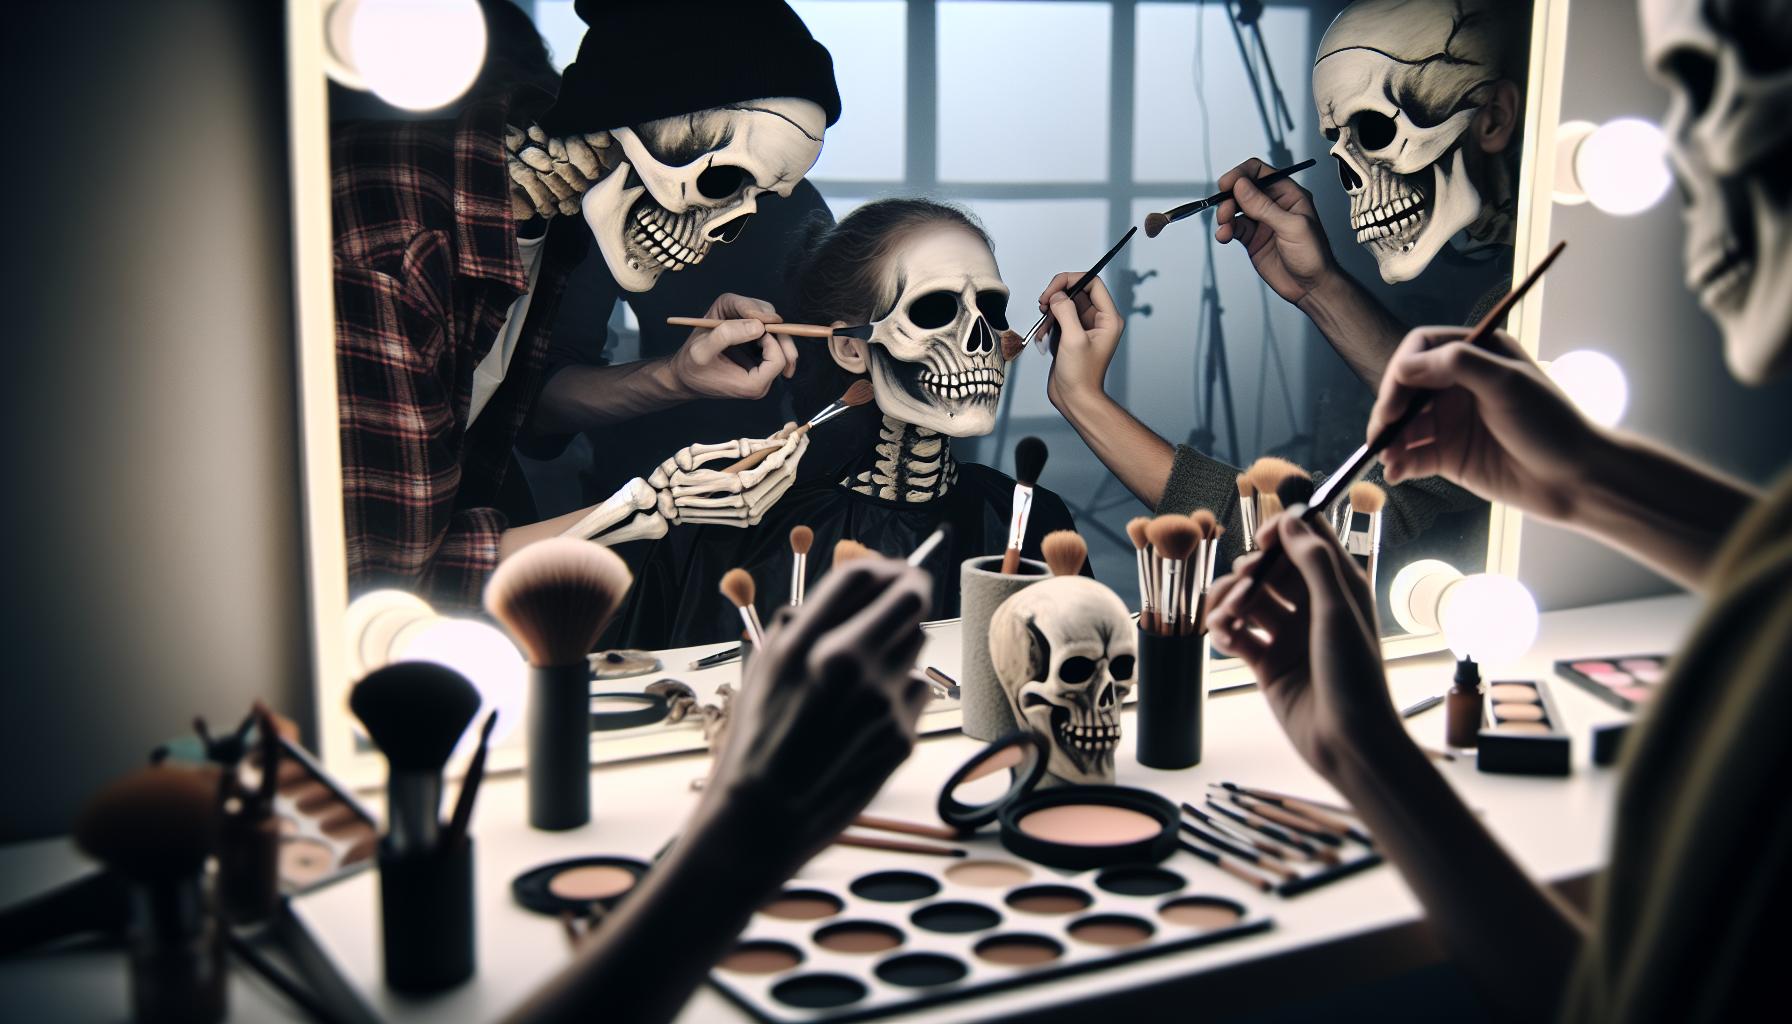
Creating a captivating skeleton makeup look can be as rewarding as it is challenging, especially when you’re working with kids. It’s common to encounter a few hiccups along the way, but fixing these mistakes can often be simple if you know what to look for. Whether it’s uneven application, smudging, or lack of definition, there are quick fixes that can salvage the look while ensuring that your child’s makeup experience remains fun and enjoyable.
One frequent issue is uneven application of face paint. If the paint looks blotchy or patchy, try gently blending the areas using a damp makeup sponge. This can help to smooth out the look and create a more cohesive base. For areas that are particularly pale or lack color, go back in with a small brush and apply another layer of the face paint, ensuring that you dab rather than swipe, to build up opacity without compromising the underlying coat.
Another common mistake occurs with outlining the skeleton features, such as the nose, eyes, and jawline. Kids can sometimes squirm during this process, leading to wonky lines. Instead of freehanding, use a stencil to guide your outlines. You can create these stencils easily at home using card stock. Simply cut out the desired shapes and hold them against the face while applying the makeup. This not only enhances precision but also adds a fun, interactive element to your makeup session.
Makeup smudges can be an annoyance, especially on little ones who might be less cautious about touching their faces. To combat this, make sure to set the makeup properly after completion. Use a translucent setting powder or spray to lock everything in place. For those moments when smudges do happen, don’t panic! Keep a few cotton swabs dipped in makeup remover handy to quickly correct any errors without having to redo the entire face.
In summary, the key to fixing common skeleton makeup mistakes lies in patience and a bit of strategic thinking. By utilizing blending techniques, stencils for outlines, and setting sprays, you can ensure a polished look that will delight any child. Embrace the creative process, as even small imperfections can often lead to unique and beautiful results!
Fun Accessories to Enhance Skeleton Looks
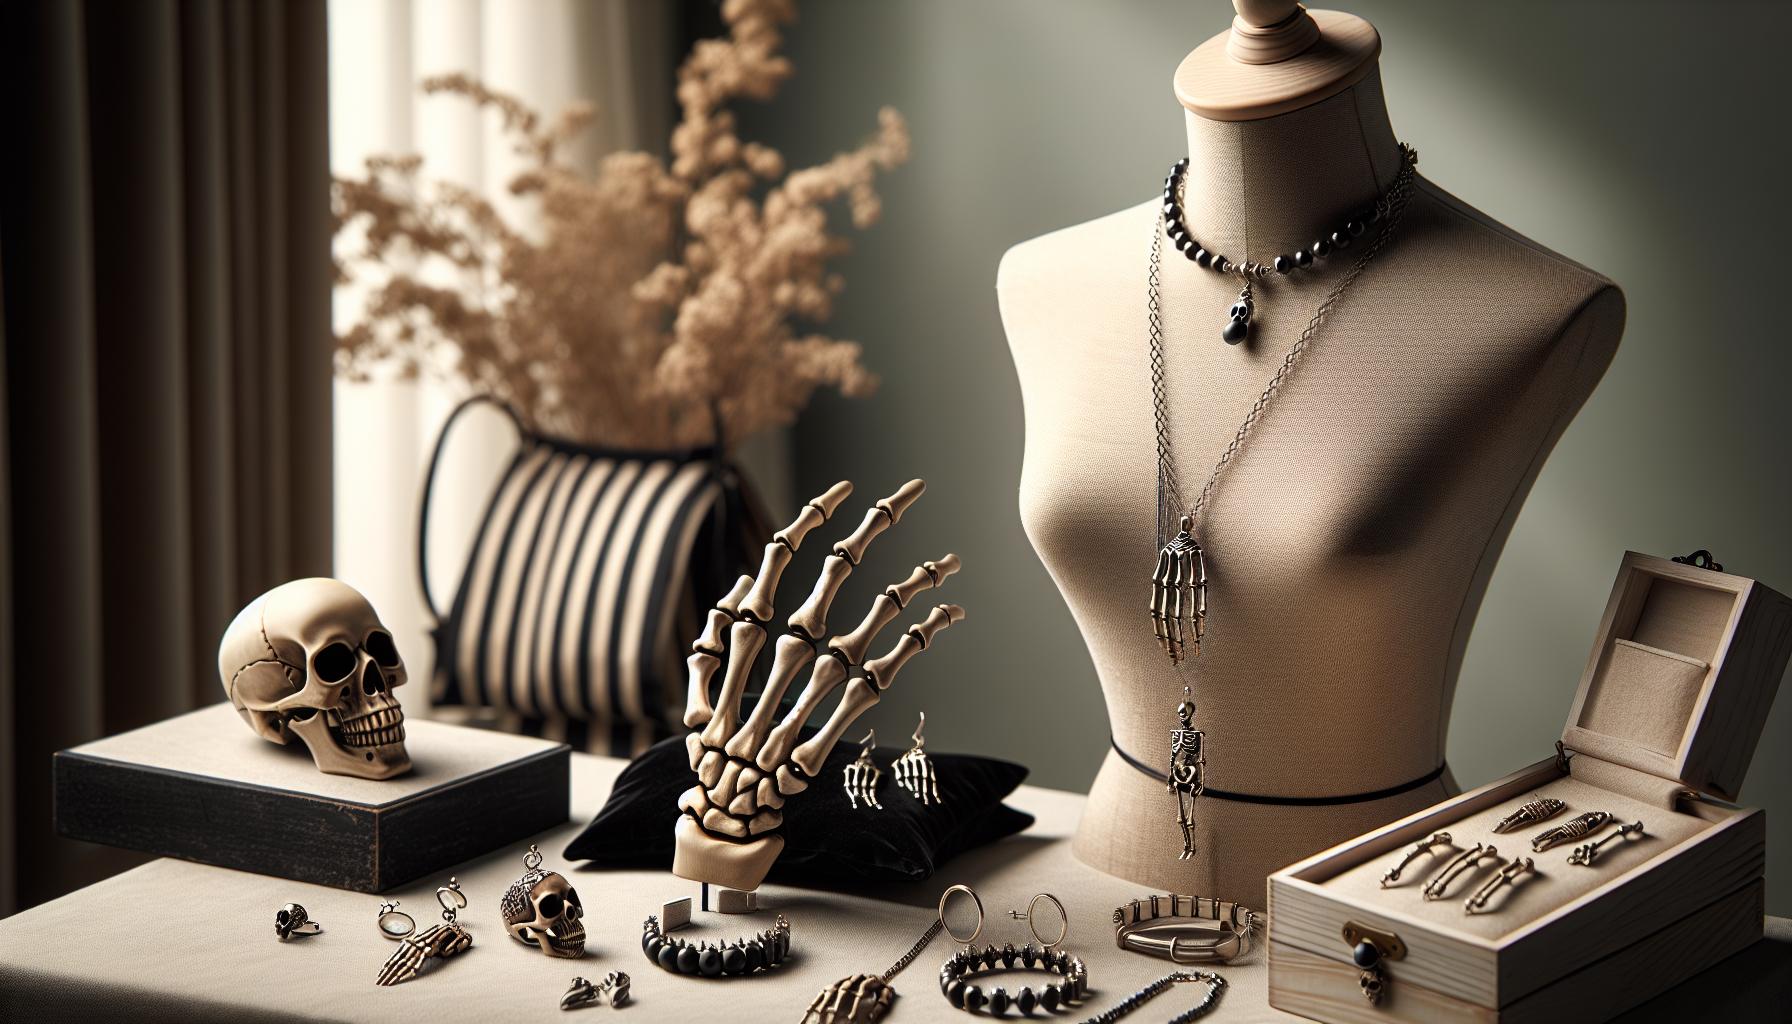
Creating a captivating skeleton makeup look is not just about the face; it’s also an opportunity to enhance the entire ensemble with fun accessories that truly bring the character to life. These additional elements can transform a simple makeup job into an unforgettable, bone-chilling appearance that delights children and adults alike.
Start with thematic clothing that complements the skeleton makeup. Look for black outfits adorned with white bones or skull designs; they can easily be found at costume shops or online. For kids, even pajamas with skeleton prints can work in a pinch. Pairing the makeup with themed attire will create a cohesive look that’s sure to impress.
To elevate the visual impact, consider adding props like a skeleton-themed cape or shawl. These pieces not only provide an extra layer of warmth during chilly Halloween nights but also serve to accentuate the skeleton theme. A skeleton mask can also act as a dramatic entrance piece-perfect for trick-or-treating or a Halloween party.
Jewelry items, such as beaded necklaces with skull charms or glow-in-the-dark bracelets, can provide subtle flair. Funky hair accessories, like hair clips in the shape of bones or spiders, can add even more charm, especially when styled with colorful hair sprays to match the makeup. If your child loves being creative, letting them craft their own accessories can be a fun pre-Halloween project, making the final look even more personal and unique.
Lastly, don’t forget about glow sticks or LED accessories! Adding these elements can make nighttime visibility safer while enhancing the eerie atmosphere. For example, a glow-in-the-dark bracelet or a necklace can give off a spooky glow under low-light conditions, making your skeleton look even more enchanting (or frightening) as darkness falls.
By thoughtfully incorporating these accessories into the skeleton makeup routine, you can create an eye-catching ensemble that adds to the Halloween spirit, ensuring your child stands out and has a blast while staying safe and snug.
Skeleton Makeup for Kids: Best Practices for Removal
Removing skeleton makeup from your child’s skin can feel like a daunting task, especially after a fun Halloween night filled with spooky thrills. However, with the right approach and products, you can ensure a smooth and gentle removal process that won’t leave their skin stressed or irritated.
Start by gathering your supplies, which should include a gentle makeup remover or cleanser suitable for kids. Look for products that are both effective and free from harsh chemicals, especially if your child has sensitive skin. A good option is a creamy cleanser or micellar water, which can effectively dissolve the makeup without excessive scrubbing.
Before you begin, it’s best to prep their skin. Have your child wash their face with lukewarm water to help loosen the makeup. Next, saturate a cotton pad with the makeup remover and hold it gently against the area you’re working on for about 10-15 seconds. This will allow the product to break down the makeup, making it easier to wipe away. Using soft, circular motions, wipe the makeup away gently. For stubborn areas, such as around the eyes or heavier parts of the makeup, you may need to repeat this step a couple of times.
After you’ve removed all the makeup, cleanse their face again with a mild soap or facial wash to remove any residue from the makeup remover. It’s important to follow with a moisturizer suitable for their skin type, as some cleansers can be drying.
To prevent any irritation or discomfort, ensure that your removal process is calm and gentle. Encourage your child to relax, maybe even making it a fun bonding activity where they can splash some warm water and enjoy a mini spa moment. Keeping this process positive helps reinforce good skincare habits for the future.
In summary, prioritize gentle cleansing products, take your time with removal, and finish with moisturization. By following these steps, you ensure that your child’s skin remains happy and healthy, allowing for many more spook-tacular makeup adventures in the future!
Inspiration from Popular Characters and Themes
Skeleton makeup is a festive favorite, especially during Halloween, and drawing inspiration from popular characters can elevate your child’s spooky look. Whether it’s a well-loved movie character or a classic Halloween theme, there are endless creative paths to explore for bone-chilling results that will delight costume parties or trick-or-treating.
For instance, the iconic Jack Skellington from The Nightmare Before Christmas is a fantastic character to model skeleton makeup after. With his distinctive skeletal grin and black and white striped suit, you can recreate his look with simple white face paint for the skull base and black accents around the eyes and mouth. Add a bow tie, and your little one will be ready for a night of frights!
Another fun idea is to take cues from beloved animated films, like Coco, which features vibrant skeleton characters that celebrate family and tradition. You can incorporate colorful decorations into the makeup by using bright face paints for floral designs, reminiscent of Día de los Muertos. This theme not only looks stunning but also introduces a meaningful cultural aspect to the celebration.
Creative adaptations don’t stop at characters; you can also incorporate popular themes like “Pirates of the Caribbean.” Mixing elements of pirate costumes with skeleton makeup adds a unique twist. Think about skeletal designs paired with a bandana or eye patch, creating a fierce yet fun pirate look.
Inspiration can also stem from Halloween essentials such as witches or ghosts. A ghostly skeleton look can be achieved by using lighter shades for an ethereal glow while maintaining the classic skull features. Adding props like glowing accessories or shimmering capes can enhance the overall aesthetic.
Regardless of the character or theme, keep it fun and simple. Allow your child to express themselves, and don’t forget to take a few photos to capture the festive spirit! Engaging with these popular figures not only makes for a creative activity but also adds excitement and a personal touch to their Halloween experience.
Maintaining Skeleton Makeup: Longevity Tips
To keep skeleton makeup looking fresh and fabulous throughout Halloween festivities, there are several strategies you can employ. A little preparation goes a long way in ensuring the makeup not only lasts but also remains comfortable for your child as they enjoy their spooky adventures.
Start by using a high-quality setting spray or powder specifically designed for face paint. After applying the base layer and details of the skeleton makeup, lightly mist or dust the face to lock in the makeup. This provides a protective barrier against smudging and helps prevent the colors from fading throughout the night. Look for products that are hypoallergenic and suitable for sensitive skin, especially for young children.
Don’t forget about touch-ups! Carry a small makeup kit with essential tools for quick fixes. A small brush, white and black face paint, and a fine point eyeliner can be lifesavers for refreshing those sharp skeletal features. Keep these items handy in a compact bag; a little touch-up every few hours can maintain that striking look without requiring a complete reapplication.
For added longevity, consider the environment. If the event is outdoors, advise your child to stay in shaded areas to avoid direct exposure to sunlight, which can cause makeup to break down faster. If it’s chilly, opting for a scarf or comfy collar can help keep the makeup intact while also providing warmth.
Lastly, encourage your little one to avoid touching their face excessively. Remind them that skeleton makeup is part of their festive costume and to enjoy it without rubbing or scratching, which can lead to smudging. With these tips, you can ensure that their bone-chilling look is not only eye-catching but also lasts well into the night!
Safety Precautions for Halloween Makeup Fun
When it comes to skeleton makeup for kids, ensuring safety is paramount. Children’s sensitive skin can react unpredictably to certain products, so it’s essential to choose wisely and apply with care. First, always opt for hypoallergenic, non-toxic face paints specifically designed for children. These products are less likely to cause skin irritation or allergic reactions. Before fully applying the makeup, do a patch test on a small area of skin, like the inside of the wrist, and wait 24 hours to check for any adverse reactions.
Another key precaution is to keep the makeup application area well-ventilated. Many face paints can have strong odors, which may be overwhelming, especially for younger kids. Consider applying makeup outdoors or in a room with windows open to reduce potential discomfort. Additionally, watch out for small objects and accessories used in the makeup process, like glitter or sequins, which can be choking hazards-especially with younger audiences who love to touch everything!
Remember that hydration plays a role in skin health, so be sure to moisturize your child’s face before applying makeup. This helps create a barrier that not only protects the skin but also allows for smoother application and ease of removal later. When it comes time for cleanup, use gentle soap or a designated face wash. Avoid scrubbing too hard, as this can irritate the skin. Creating a fun post-event tradition, like a gentle face wash and pampering session, can help make the removal process less of a chore and more of an enjoyable activity.
Lastly, during festivities, remind your little ones to avoid touching their faces. This simple action can prevent smudging and reduce the risk of transferring makeup into their eyes, which can cause irritation. Keep a few baby wipes or makeup remover pads handy for quick clean-ups if accidents happen, ensuring the fun doesn’t turn into distress. By taking these safety precautions, you can make the Halloween makeup experience enjoyable and worry-free for your child.
Q&A
Q: What materials do I need for skeleton makeup for kids?
A: For skeleton makeup, you’ll need face paint or makeup in black and white, makeup brushes or sponges, setting powder, and optional accessories like fake bones or a skull headband. For detailed work, consider face paint pencils for precision. Ensure the products are non-toxic and specifically designed for children’s sensitive skin.
Q: How can I make skeleton makeup last longer for kids?
A: To enhance the longevity of skeleton makeup, start by applying a makeup primer suitable for children. After painting, set the makeup with a translucent setting powder. Avoid touching the face, and consider using a fixative spray for an additional layer of protection. See the ‘Maintaining Skeleton Makeup: Longevity Tips’ section for more advice.
Q: What are some easy skeleton makeup designs for kids?
A: Simple skeleton designs include a classic skull face with hollow eyes and a black nose, or ribcage outlines on the chest. Alternatively, create bone patterns on their arms and legs. For more inspiration, check the ‘Creative Variations: Skeleton Makeup Ideas for All Ages’ section of the article.
Q: How can I remove skeleton makeup safely after use?
A: To remove skeleton makeup, use a gentle makeup remover or baby oil on a cotton pad. Wipe gently until all makeup is removed, then wash the face with mild soap and water. Don’t forget to moisturize afterward to hydrate the skin. Refer to the ‘Skeleton Makeup for Kids: Best Practices for Removal’ section for detailed steps.
Q: Are there any safety precautions for applying skeleton makeup on kids?
A: Yes, always perform a patch test on a small skin area before applying any makeup to check for allergies. Use products that are specifically formulated for children’s skin. Avoid sensitive areas like the eyes and mouth unless the makeup is marked safe for those areas. Consult the ‘Safety Precautions for Halloween Makeup Fun’ section for comprehensive tips.
Q: Can I use regular face paint for skeleton makeup on kids?
A: It’s best to use face paint specifically designed for children, as it’s formulated to be safe and non-toxic. Regular paints may contain harmful ingredients. Additionally, ensure any face paint used is hypoallergenic. Check the sections on ‘Choosing the Right Skeleton Makeup Products for Kids’ for recommendations.
Q: How can I adapt skeleton makeup for sensitive skin?
A: For sensitive skin, choose hypoallergenic, fragrance-free makeup products. Test the makeup on a small area first, and consider using a barrier cream before application. Always prioritize removing the makeup gently to avoid irritation. Explore ‘How to Adapt Skeleton Makeup for Different Skin Types’ for more tailored advice.
Q: What fun accessories can enhance a skeleton makeup look for kids?
A: Fun accessories include skeleton gloves, plastic jewelry, fake weapons, or themed hats like a top hat or a witch’s hat. Additionally, consider temporary tattoos featuring bones or skulls for added flair. Check ‘Fun Accessories to Enhance Skeleton Looks’ for additional ideas to complete the appearance.
To Wrap It Up
Now that you’re equipped with the steps to create stunning skeleton makeup for kids, it’s time to unleash your creativity! Remember, practice makes perfect, so try out different designs and techniques to find what works best for you. Don’t hesitate to explore our additional resources, like the step-by-step skeleton makeup guide and last-minute tutorials, to further enhance your skills!
Before you go, we’d love to hear about your Halloween experiences or any tips you have for fellow parents-drop your ideas in the comments below. For more festive beauty inspiration, sign up for our newsletter or check our site for fun Halloween ideas that will keep the spooky spirit alive all season long! Get ready to create bone-chilling looks that your kids will absolutely love, and make this Halloween unforgettable!
Get our latest guides, news, and insights highlighted in your Google Search & AI Overviews.