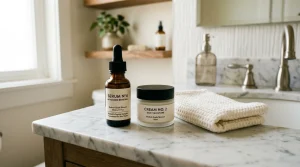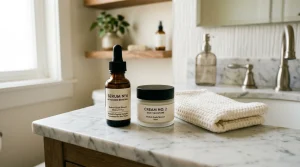
Have you ever wondered how to achieve that fresh, glowing skin without breaking the bank? Making your own oil cleanser at home is not only a cost-effective solution but also a wholesome way to nourish your skin. This easy DIY recipe harnesses the power of natural oils to remove impurities and makeup while keeping your skin hydrated and healthy.
Many commercial cleansers can be harsh on your skin, leading to irritation or dryness. By crafting your own oil cleanser, you can customize the ingredients to suit your skin type, ensuring a gentle and effective cleansing experience. Plus, it’s remarkably simple! As you read on, you’ll discover how to blend the perfect oils and create a soothing cleansing ritual that fits effortlessly into your daily routine. Get ready to transform your skincare game with this delightful DIY project!
How Oil Cleansers Work for Your Skin

The magic of oil cleansers lies in their ability to dissolve impurities effortlessly, transforming your skincare routine into a gentle yet effective ritual. When you apply an oil cleanser to your skin, the oil bonds with the makeup, sunscreen, and excess sebum present on the surface. This unique chemistry occurs because “like dissolves like”-the oil attracts and helps lift oily substances away from your skin, making it easier to wash them away without the need for harsh detergents.
Using an oil cleanser can lead to various benefits that enhance your skin’s overall health. During the cleansing process, the oil hydrates and nourishes the skin, offering essential fatty acids and antioxidants that promote a radiant complexion. This is particularly beneficial for those with dry or sensitive skin, as traditional cleansers can strip away natural moisture. Additionally, oil cleansing can help balance oily skin types by regulating sebum production, ultimately leading to fewer breakouts and a clearer appearance.
To fully leverage the benefits of oil cleansing, it’s crucial to use the right technique. Start by applying a generous amount to your dry skin and gently massaging in circular motions for about 30 seconds. This not only helps dissolve dirt but also boosts circulation, giving your skin a fresh glow. Rinse with warm water or a damp cloth, and enjoy the soft, clean sensation without the tightness often associated with conventional cleansers.
In summary, oil cleansers are more than just a trend; they offer a scientifically backed approach to effective cleansing that nurtures your skin. By understanding how they work and incorporating them correctly into your routine, you can achieve a beautifully clean and healthy complexion.
Benefits of Using an Oil Cleanser
Using an oil cleanser can transform not only your skincare routine but also the health of your skin. One of the most compelling benefits is its ability to hydrate while cleansing. Unlike traditional foaming cleansers that can strip away natural oils, an oil cleanser nourishes the skin with essential fatty acids and antioxidants. This gentle approach is especially beneficial for those with dry or sensitive skin, as it helps maintain moisture levels while effectively removing dirt, makeup, and impurities.
Moreover, oil cleansing can be a game-changer for those struggling with oily or acne-prone skin. It might seem counterintuitive, but using oil to cleanse can actually balance oil production. By dissolving excess sebum without irritating the skin, oil cleansers can lead to fewer breakouts and a more clarified complexion. This is due to the “like dissolves like” principle, where the cleansing oil bonds with the skin’s natural oils and impurities, allowing for a thorough yet gentle cleanse.
In addition to its cleansing and hydrating properties, an oil cleanser also promotes relaxation. The act of massaging the oil into your skin not only feels luxurious but also enhances circulation, which can give you a healthy glow. Incorporating oil cleansing into your self-care routine transforms it from a mere chore into a soothing ritual that supports both your skin and your overall well-being.
In summary, the extend far beyond simple cleansing. With its hydrating properties, ability to balance skin oils, and the relaxation it fosters, integrating an oil cleanser into your skincare regimen can lead to healthier, more radiant skin. Whether you’re preparing to make your own at home or exploring commercial options, knowing these advantages positions you for a more effective and enjoyable skincare experience.
Essential Ingredients for Your DIY Recipe
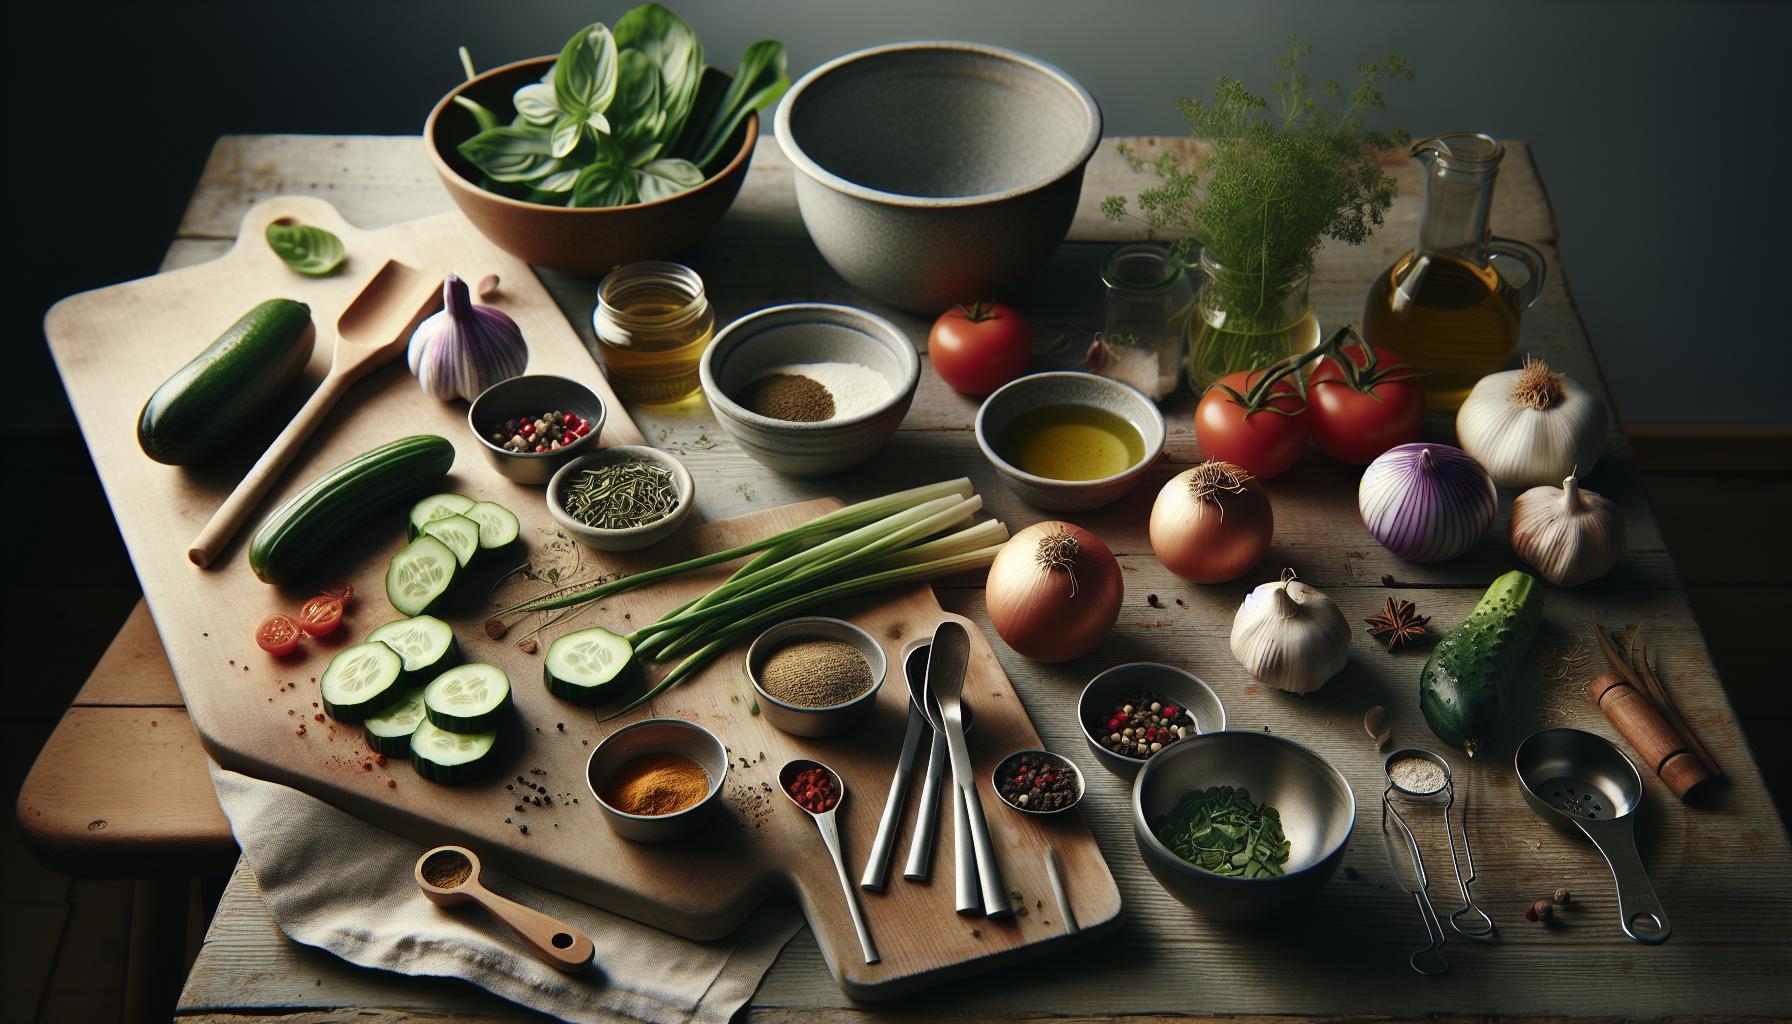
Creating your own oil cleanser at home doesn’t just allow you to control the ingredients; it also gives you the opportunity to tailor your formulation to your specific skin needs. To get you started, let’s explore the essential ingredients that make up an effective DIY oil cleanser.
The foundation of any oil cleanser is the carrier oil, which not only acts as a cleansing agent but also nourishes and hydrates your skin. Popular choices include jojoba oil, known for its similarity to natural skin sebum and its ability to help balance oil production; sweet almond oil, which is rich in vitamins A and E and great for sensitive skin; and fractionated coconut oil, recognized for its lightweight texture and antibacterial properties. Selecting the right carrier oil for your skin type can significantly enhance your cleansing experience and results.
Next, consider adding essential oils to elevate your cleanser’s benefits. Oils like lavender are soothing and calming, making them ideal for those with sensitive skin, while tea tree oil offers antibacterial properties that help combat acne. It’s crucial to use these essential oils in moderation-typically a few drops per ounce of carrier oil-to avoid irritation.
Lastly, to round out your DIY oil cleanser, look into incorporating antioxidants or natural emulsifiers. Vitamin E oil not only provides additional nourishment but also extends the shelf life of your blend, while castor oil can serve as an emulsifier to help the oil blend seamlessly with water when rinsing.
With just these few key ingredients, you can craft a personalized oil cleanser that effectively cleanses, nourishes, and suits your skin’s unique requirements, all while promoting a sustainable and eco-friendly approach to your skincare routine.
Step-by-Step Guide to Making Oil Cleanser
Creating your own oil cleanser at home may sound daunting, but it’s a straightforward process that can be both rewarding and beneficial for your skin. With just a few key ingredients and some easy steps, you can whip up an effective cleanser tailored to your skin’s needs. Let’s dive right into the process, ensuring you feel confident every step of the way.
Start by gathering your ingredients and materials. You’ll need a clean glass container or bottle for storage, which helps maintain the purity of your oil cleanser.
Essential Ingredients:
- Carrier Oil: Choose a base oil that suits your skin type. For example:
– Jojoba Oil: Excellent for balancing oil production.
– Sweet Almond Oil: Great for sensitive skin due to its nourishing properties.
– Fractionated Coconut Oil: Light and antibacterial, ideal for all skin types.
- Essential Oils (Optional): For added benefits:
– Lavender Oil: Soothing for sensitive skin.
– Tea Tree Oil: Antibacterial, helpful for acne-prone skin.
- Vitamin E Oil or Castor Oil: To boost nourishment and act as a natural preservative and emulsifier.
The Process:
- Measure Your Ingredients: Depending on the size of your container, a common starting ratio is 3 tablespoons of carrier oil to 1-2 drops of essential oil, with a few drops of Vitamin E oil if desired.
- Mix the Oils: In a clean bowl, combine your carrier oil with any essential oils you’ve chosen. Stir gently to blend them. If you’re adding Vitamin E or castor oil, incorporate it at this stage.
- Transfer to Container: Using a funnel, pour your blended oils into the storage bottle. Ensure you leave a little space at the top for shaking.
- Label and Date: It’s helpful to label your cleanser with its contents and the date you made it. This way, you can keep track of freshness.
- Shake Before Use: Always give your oil cleanser a good shake before using. This ensures that the ingredients are well mixed, providing an even application.
By crafting your oil cleanser at home, you gain greater control over the ingredients and can adjust the formulation based on your unique skin needs. Remember, consistency is key, so use it as part of your regular skincare routine for the best results. Make this fun-experiment with different oil combinations and discover what works best for you!
Choosing the Right Oils for Different Skin Types
Choosing the right oils for your homemade cleanser is essential for catering to your unique skin type and concerns. Each type of oil carries different properties that can enhance your cleansing routine, so understanding how to match them with your skin needs can lead to a more effective and enjoyable experience.
For those with oily or acne-prone skin, lightweight oils like jojoba oil and grapeseed oil are fantastic choices. Jojoba oil closely resembles the natural sebum produced by our skin, making it excellent for balancing oil production without clogging pores. Grapeseed oil is also non-comedogenic and contains linoleic acid, which can help reduce acne inflammation and unclog pores. These oils work effectively to remove excess oil while providing hydration.
If you have dry or sensitive skin, consider using sweet almond oil or avocado oil. Sweet almond oil is rich in vitamins E and A, providing nourishment and soothing properties, which makes it beneficial for sensitive skin that reacts easily to products. Avocado oil, packed with fatty acids, is excellent for deep hydration and repairing the skin barrier, making it a luxurious option for dry skin types.
For combination skin, a blend of oils may be the best approach. Using fractionated coconut oil can be ideal, as it is lightweight yet hydrating, without the heaviness of whole coconut oil. Combining it with a small amount of rosehip oil can provide additional Vitamin A and essential fatty acids, improving overall skin texture and tone.
When selecting the right oils, think about your specific needs and experiment with blends to find what feels best on your skin. Keep in mind that it might take a few tries to identify the perfect combination, but don’t be discouraged. This personalization makes a DIY oil cleanser not only effective but also a fun project tailored just for you.
Tips for Customizing Your Oil Cleanser
Customizing your oil cleanser can elevate your skincare routine, allowing you to cater specifically to your skin’s needs while experimenting with delightful scents and textures. The beauty of creating your own oil cleanser lies in the ability to adjust ingredients based on what resonates with your skin type and personal preferences. Here’s how to personalize your blend.
Start by considering the base oils. If you’re aiming for a lightweight feel, choose oils like grapeseed or jojoba, which absorb easily without leaving a greasy residue. For those seeking richer hydration, avocado oil or sweet almond oil can provide an extra layer of nourishment. Want a scent that energizes you? Add a few drops of essential oils like lavender for calming effects or peppermint for an invigorating boost, but remember to keep essential oils to around 1% of your total mixture for safety.
Balancing Skin Types
Understanding your skin condition is vital when customizing your oil cleanser. If you experience breakouts, incorporating oils high in linoleic acid, such as hempseed oil or rosehip oil, can be beneficial. For dry skin, consider adding oils rich in oleic acid, like olive oil, which help create a protective barrier. If you’re uncertain about which oils to choose, start with a small batch that combines two or three oils in a 1:1 ratio. Adjust based on how your skin feels after use, aiming for comfort and balance.
Textural Adjustments
Texture is another area for customization. If you prefer a thicker consistency, add a bit of castor oil, which can help create a more gel-like feel. Conversely, adding a few drops of a lighter oil can yield a fluid texture that glides smoothly on the skin. Experimenting with the proportions of your oils helps refine your recipe to achieve an easily spreadable and comfortable cleanser.
In summary, customizing an oil cleanser isn’t just about the ingredients. It involves understanding your unique skincare needs and preferences. As you mix and match, keep track of what combinations work best for you. This not only enhances your skincare experience but also turns crafting your cleanser into a fun and rewarding ritual. Happy blending!
How to Use Your Homemade Oil Cleanser
Using your homemade oil cleanser is an enjoyable process that not only cleanses your skin but also nourishes and hydrates it. By embracing this method, you’re engaging in a skincare ritual that respects your skin’s natural oils rather than stripping them away. To get started, it’s essential to follow a few simple steps that will ensure you effectively cleanse without overwhelming your skin.
Begin by applying a dime-sized amount of your oil cleanser onto dry skin. If you prefer, warm the oil between your hands first to enhance its texture and absorption. Next, gently massage the oil into your skin for about 30 seconds. Use circular motions to help dissolve makeup, dirt, and impurities. Don’t rush this step; take your time to enjoy the sensory experience, as the oil will begin to lift away the grime without the need for harsh scrubbing.
After you’ve thoroughly massaged the oil, it’s time to emulsify it. Wet a soft washcloth or your hands with warm water and press it against your face. Let the warmth help the oil break down even further and, in turn, create a gentle emulsion. Then, wipe the oil off your skin in a downward motion, ensuring you remove all residues. If necessary, repeat the rinsing with a second application of warm water to ensure your skin feels clean and refreshed.
To finish off, splash your face with cool water to help close your pores, and then gently pat your skin dry with a clean towel. You’ll likely notice how soft and supple your skin feels post-cleansing-this is the beauty of using oil! To maintain your newly refreshed complexion, follow up with your regular skincare routine, whether that includes serums, moisturizers, or treatments.
In summary, using your homemade oil cleanser is straightforward and rewarding. With a little time and the right technique, you can enjoy the multitude of benefits oil cleansing has to offer, leaving your skin feeling clean, balanced, and happily hydrated.
Common Mistakes to Avoid with Oil Cleansing
When diving into the world of oil cleansing, it’s crucial to recognize that not every approach is created equal. Errors can lead to a less satisfying experience or even adverse effects on the skin. Here are some common missteps to avoid, ensuring your oil cleansing routine benefits you.
One of the most prevalent mistakes people make is using the wrong type of oil for their skin type. For example, those with oily or acne-prone skin might think they should bypass oil cleansing altogether or opt for heavy oils. However, oils like jojoba or grapeseed can help balance oil production without clogging pores. Know your skin type and choose oils accordingly to maximize effectiveness.
Another common error is not emulsifying the oil properly. After massaging it into your skin, it’s important to use warm water to create an emulsion. Skipping this step can leave an oily residue, which might cause breakouts or make your skin feel greasy instead of clean. Make sure to wet your hands or a washcloth and gently press it to your face, allowing the oil to break down before wiping it away.
Over-applying the oil cleanser can also lead to lackluster results. A dime-sized amount is typically sufficient for an effective cleanse. Using too much can weigh down your skin and make it harder to rinse off. Remember, a little goes a long way!
Finally, neglecting to follow up with a balanced skincare routine can derail your oil cleansing efforts. Once your skin is cleansed and feeling fresh, it’s essential to apply moisturizer or treatment products tailored to your skin’s needs. This step rehydrates and protects your skin, reinforcing the benefits of your oil cleansing ritual.
By steering clear of these pitfalls, you can enjoy the rejuvenating experience of oil cleansing without compromise. Embrace the journey, and don’t be afraid to tweak your technique until you find what feels right for you!
Storage Tips for Your Homemade Cleanser
Homemade oil cleansers can be a delightful addition to your skincare routine, but storing them properly is essential for maintaining their effectiveness and ensuring they remain safe to use. Did you know that improper storage can lead to rancidity, loss of beneficial properties, and even skin irritation? Here are some practical tips to help you store your DIY oil cleanser effectively.
First, always choose the right container. Opt for glass containers, as they are non-reactive and better preserve the integrity of the oils compared to plastic. Dark glass bottles are particularly beneficial, as they protect the oils from light exposure, which can degrade their quality over time. If you can’t find dark glass, a tinted bottle can work as well-just keep it in a dark cabinet.
Next, consider the temperature. Store your homemade cleanser in a cool, dry place, away from direct sunlight, heat sources, and humidity. A bathroom shelf might not be ideal unless it’s away from the shower or direct sun. A temperature range of 60°F to 70°F (15°C to 21°C) is typically best. Higher temperatures can accelerate the breakdown of healthy fats, potentially leading to rancid oils.
Lastly, keep track of the expiration date. While essential oils can have a shelf life of up to a year, carrier oils like olive or jojoba typically last six months. Seal the bottle tightly after each use to minimize air exposure, which can lead to oxidation. If your oil cleanser starts to smell off or changes color, it’s best to discard it to avoid any adverse effects on your skin.
By following these simple storage tips, you can enjoy your homemade oil cleanser to the fullest, ensuring it remains effective and safe for your skincare routine. Remember, the care you put into storing your products reflects the desire for healthy, radiant skin!
Comparing Oil Cleansing to Other Methods
The trend of oil cleansing has gained traction in recent years, but how does it stack up against other cleansing methods? Understanding the differences between oil cleansing and traditional soap or foaming cleansers can empower you to make the best choice for your skincare needs.
One of the most significant distinctions is the way oil cleansers dissolve make-up, excess oil, and impurities. Oil is effective at breaking down other oils, which means it can effortlessly lift away both makeup and skin’s natural sebum-often without stripping your skin of its essential moisture. In contrast, soap-based cleansers can sometimes be harsher, leading to dryness, especially for those with sensitive or dry skin. Therefore, if you’re prone to dryness or have a compromised skin barrier, oil cleansing could be a gentler alternative that still leaves your skin feeling clean without the tightness associated with traditional cleansers.
Another important factor is the ingredients. Many commercial cleansing products contain sulfates and other synthetic additives that may irritate the skin. With oil cleansing, especially if you’re making your own, you can control every ingredient that goes into your cleanser. This is particularly beneficial for individuals who prefer a more natural approach to skincare. By choosing calming oils like jojoba or sweet almond, you can tailor the experience to your skin’s specific needs, promoting a healthy glow rather than temporary clarity at the cost of irritation.
It’s also worth noting how oil cleansing fits into a broader skincare routine. With traditional cleansers, especially foams or gels, the common practice is to wash your face once and be done. However, many find that oil cleansing is best introduced as part of a two-step process, where it’s followed up with a gentle water-based cleanser to ensure all residue is removed. This means that while using oil can initially seem like an added step, it can result in a more thorough cleansing experience that supports skin health in the long term.
By evaluating these differences, you can understand that while oil cleansing may not be for everyone, its benefits are substantial, particularly for those with dry or sensitive skin. Transitioning to this method could not only enhance your daily routine but also lead to healthier, more radiant skin over time.
Understanding Oil Cleansing in Your Routine
Oil cleansing is a transformative step in many people’s skincare routines that goes beyond mere cleansing; it embodies a philosophy of treating your skin with gentleness and intention. For those who might have been skeptical about incorporating oils into their daily regimen, understanding how to effectively weave this technique into your routine can change the game.
First and foremost, one of the beauties of oil cleansing is its ability to be tailored to individual needs. If you wear makeup or sunscreen, using an oil cleanser is not just beneficial-it’s essential. The oil works by binding to and breaking down these products, allowing for a deeper clean. When starting with oil cleansing, consider it your first step in a two-part cleansing method. This approach ensures that all impurities are effectively lifted away before following up with a mild water-based cleanser, which helps to remove any lingering residue.
Integrating Oil Cleansing into Your Daily Routine: It’s recommended to use oil cleansers in the evening to remove the grime of the day. For instance, you might start by applying a dime-sized amount of your homemade oil cleanser to dry skin, massaging it in gently for about thirty seconds. This not only helps dissolve makeup and excess oil but also promotes circulation, giving your skin a mini massage. After this, splash your face with warm water to emulsify the oil, then follow with your regular cleanser.
Another key point is to recognize that oil cleansing can adapt to skin changes. For example, during colder months, when the skin tends to be drier, you might swap in heavier oils like avocado oil for added moisture. Conversely, in the humid summer months, lighter oils such as grapeseed oil can keep your skin balanced without feeling greasy.
Lastly, don’t hesitate to experiment. Keep track of how different oils and combinations work for you. Everyone’s skin is unique, and by treating oil cleansing as a personal journey rather than a one-size-fits-all solution, you can discover what truly nourishes your skin. Embracing this method allows for a more holistic approach to skincare, where each step-especially this first one-sets the tone for overall skin health.
Frequently Asked Questions About Oil Cleansing
When it comes to oil cleansing, many people have questions-whether they’re about the method, the ingredients, or tips for success. Let’s dive into some common inquiries to help clarify any uncertainties and put you on the path to glowing skin.
One frequent question is, “Can oil cleansing work for all skin types?” Absolutely! Oil cleansing is incredibly versatile. The key is to choose the right oils for your skin type. For oily skin, lighter oils like jojoba or grapeseed can help balance sebum production. Those with dry skin might benefit from richer oils like olive or avocado oil, which provide more moisture. It’s all about finding what feels best for your unique skin!
Another common concern is around the “effectiveness of oil cleansers in removing makeup.” Rest assured; oil cleansers excel at breaking down makeup, even waterproof products. Applying a dime-sized amount to dry skin and massaging it in will dissolve makeup effortlessly. Following this with a warm water rinse enhances the breakdown of residue, leaving your skin clean and fresh.
If you’re thinking about how often to use an oil cleanser, incorporating it into your nightly routine is often recommended. This helps remove the build-up of dirt, oil, and makeup accumulated throughout the day. However, you should listen to your skin-if it feels oily or congested, you can use it more frequently. Just remember to tailor usage to your specific needs.
Lastly, many people wonder about potential “breakouts from oil cleansing.” It’s key to choose non-comedogenic oils that won’t clog your pores. If you’re new to oil cleansing, start slowly and observe how your skin reacts. Some individuals may initially experience a purge as impurities are drawn out, but this usually balances out after a couple of weeks.
In summary, oil cleansing is a flexible and effective method suitable for various skin types and needs. Remember to tailor the oils you use to your specific skin concerns, and take the time to learn how your skin responds to this nourishing cleansing technique. Embrace the journey, and enjoy the beautiful, healthy skin that can come from this simple yet effective practice!
Q&A
Q: What oils are best for sensitive skin in an oil cleanser?
A: For sensitive skin, lighter oils like jojoba oil and meadowfoam seed oil are ideal. They are non-comedogenic and help soothe irritation while effectively removing makeup and impurities. Always patch test new oils to avoid allergic reactions.
Q: How often should I use an oil cleanser?
A: You can use an oil cleanser daily, ideally as part of your evening routine. This helps remove makeup and build-up from the day. If you have oily skin, you may prefer to use it every other day to maintain balance without over-cleansing.
Q: Can I customize my oil cleanser for acne-prone skin?
A: Yes, you can customize your oil cleanser by adding essential oils like tea tree or lavender, which have antibacterial properties. Use non-comedogenic oils like grapeseed or hemp seed oil to avoid clogging pores as outlined in the article.
Q: What is the best way to apply an oil cleanser?
A: Apply a dime-sized amount of the oil cleanser to dry skin. Use gentle circular motions for about 30 seconds to dissolve makeup and dirt. Then, rinse with warm water or a damp cloth to remove the cleanser effectively.
Q: How do I store my homemade oil cleanser?
A: Store your homemade oil cleanser in a dark glass bottle to protect it from light and heat, which can degrade the oils. Keep it in a cool, dry place, and use it within six months for the best results.
Q: What are the signs that my oil cleanser is not working?
A: If your skin feels oily after using the cleanser, breaks out frequently, or feels tight and dry, it may not be suitable for your skin type. Consider reassessing the oils used and how well they match your skin’s needs.
Q: How can I enhance my oil cleanser’s effectiveness?
A: You can enhance its effectiveness by adding natural ingredients like vitamin E oil for extra nourishment or a few drops of essential oils that benefit your skin type. Always mix well before use and test small amounts first.
Q: Is oil cleansing suitable for all skin types?
A: Yes, oil cleansing can be beneficial for all skin types when the right oils are chosen. For dry skin, opt for richer oils, while oily skin benefits from lighter, non-comedogenic oils. Always tailor the blend to your specific skin needs.
The Conclusion
Congratulations on learning how to craft your own oil cleanser at home! By embracing this simple DIY recipe, you’re not just treating your skin to a nourishing cleanse; you’re also taking a step toward more sustainable beauty practices. Don’t hesitate to share your experience in the comments below-your insights could help someone else on their skincare journey!
If you’re ready to explore more holistic skincare solutions, check out our guides on natural moisturizers and the best oils for skin types. Each step you take towards natural beauty is empowering, so dive right in! Remember, forming a consistent routine may take time, but your skin will thank you for the effort.
For additional tips and exclusive content that enhances your beauty journey, consider signing up for our newsletter. Stay connected, because we’ll keep sharing expert advice you can trust!
Get our latest guides, news, and insights highlighted in your Google Search & AI Overviews.