Did you know that a poorly maintained razor can harbor bacteria, leading to skin irritations and infections? Properly disinfecting your razor not only extends its lifespan but also protects your skin. Whether you’re a seasoned shaver or new to the routine, understanding effective sanitization techniques is crucial for achieving a smooth, irritation-free shave. In this guide, we’ll walk you through simple yet effective methods to keep your razor clean and hygienic, ensuring every shave is a comfortable one. Let’s dive in and discover how you can elevate your grooming routine with these straightforward sanitization tips!
How Disinfecting a Razor Enhances Skin Health

Disinfecting your razor plays a crucial role in maintaining skin health, even beyond the immediate benefits of a clean, fresh shave. Every time you glide a razor across your skin, it’s in contact with hair, dead skin cells, and, potentially, harmful bacteria. Disinfection helps to eliminate these germs, reducing the risk of infections such as folliculitis, which can occur when hair follicles become inflamed due to bacteria or irritants. Regularly sanitizing your razor ensures that it remains a tool for pampering rather than a source of irritation.
Another vital aspect of razor sanitation is its impact on skin irritation and razor burn. A clean razor cuts hair more smoothly and efficiently, leading to a more comfortable shaving experience. When you use a contaminated razor, not only can it harbor bacteria, but the dullness resulting from debris buildup can tug at the skin, causing micro-tears that lead to redness and discomfort. By maintaining a sanitized razor, you’re not just protecting your skin but also enhancing the overall quality of your shave, leading to a smoother, healthier appearance.
Additionally, using a disinfected razor contributes to improved overall hygiene, creating a proactive approach to grooming. Proper sanitization techniques can be as simple as rinsing your blade after each use and soaking it in an alcohol solution periodically. This practice minimizes the buildup of harmful substances and keeps your skin looking and feeling its best. By prioritizing razor disinfection, you’re investing time in your grooming routine that pays off in healthier skin and a more enjoyable shaving ritual. Ultimately, cleanliness goes hand in hand with confidence, and protecting your skin by disinfecting your razor is a small but significant step toward achieving that glow.
Essential Tools for Razor Sanitization

To ensure your shaving experience is as safe and effective as possible, having the right tools for sanitizing your razor is essential. Using the right disinfecting equipment not only helps eliminate bacteria and germs but also prolongs the life of your razor, making your investment go further. Let’s dive into some essential items you should have in your grooming toolbox.
First, isopropyl alcohol (at least 70% concentration) is one of the most effective sanitizers for your razor. It’s easy to use: simply soak the razor blade in the alcohol for about 5 to 10 minutes after each shave to kill germs and bacteria. If you don’t have alcohol on hand, consider using a solution of vinegar and water as a milder but effective alternative.
Another tool to consider is a toothbrush or soft-bristle brush. This helps you scrub any residual soap or hair from between the razor blades, ensuring thorough cleanliness. Just be gentle to avoid damaging the blade. Additionally, a small bowl or container is practical for soaking your razor in the disinfectant solution-ensure it’s deep enough to submerge the entire blade.
Lastly, don’t forget about using clean, dry towels to pat down your razor after cleaning. This helps prevent moisture buildup, which can lead to rust and further bacterial growth. Storing your razor in a dry and ventilated area is equally important; consider a dedicated razor stand or magnetic holder that allows for airflow.
With these simple yet effective tools at your disposal, you’ll create a shaving routine that not only transforms your grooming experience but also contributes significantly to better skin health over time. Regular care will leave your razor clean and ready for the next shave, ensuring each use is comfortable and hygienic.
Step-by-Step Guide to Disinfecting Razors
Cleaning your razor is not just about keeping it shiny; it’s essential for maintaining skin health. Over time, razors can harbor bacteria, skin cells, and soap residue, which can lead to irritation, ingrown hairs, and infections. By following a straightforward sanitization routine, you can ensure that each shave is not only effective but also safe for your skin.
Start with the simple action of rinsing your razor under hot water right after your shave. This initial step helps to remove any hair, soap, or shaving cream clinging to the blades. After rinsing, gather your supplies: a small bowl, isopropyl alcohol (at least 70%), a soft-bristle toothbrush, and clean towels.
Here’s a concise step-by-step approach to disinfecting your razor:
- Soak the Razor: Fill a bowl with enough isopropyl alcohol to completely submerge your razor head. Soak it for about 5 to 10 minutes. This process will effectively kill most germs and bacteria.
- Brush Away Residue: After soaking, take your toothbrush and gently scrub between the blades. Focus on areas where buildup often occurs, such as the edges and pivot points. This helps prevent clogging and keeps the blades sharp.
- Rinse Again: Once you’ve brushed away any residue, rinse the razor thoroughly under warm water to remove the alcohol and any loosened debris.
- Dry Properly: Pat the blades dry with a clean, dry towel. Avoid wiping the blades, which can dull them. Instead, gently blot to absorb any remaining moisture, which helps prevent rust.
- Store Correctly: Finally, store your razor in a cool, dry place, ideally in a dedicated stand that allows airflow. Storing a wet razor can create an environment conducive to bacteria growth.
By incorporating these steps into your routine, you not only prolong the life of your razor but also enhance your overall shaving experience. Regular disinfecting can lead to smoother shaves and healthier skin, making it a worthwhile addition to your grooming habits. Remember, a clean razor means a happier, healthier you!
Common Mistakes When Sanitizing Razors
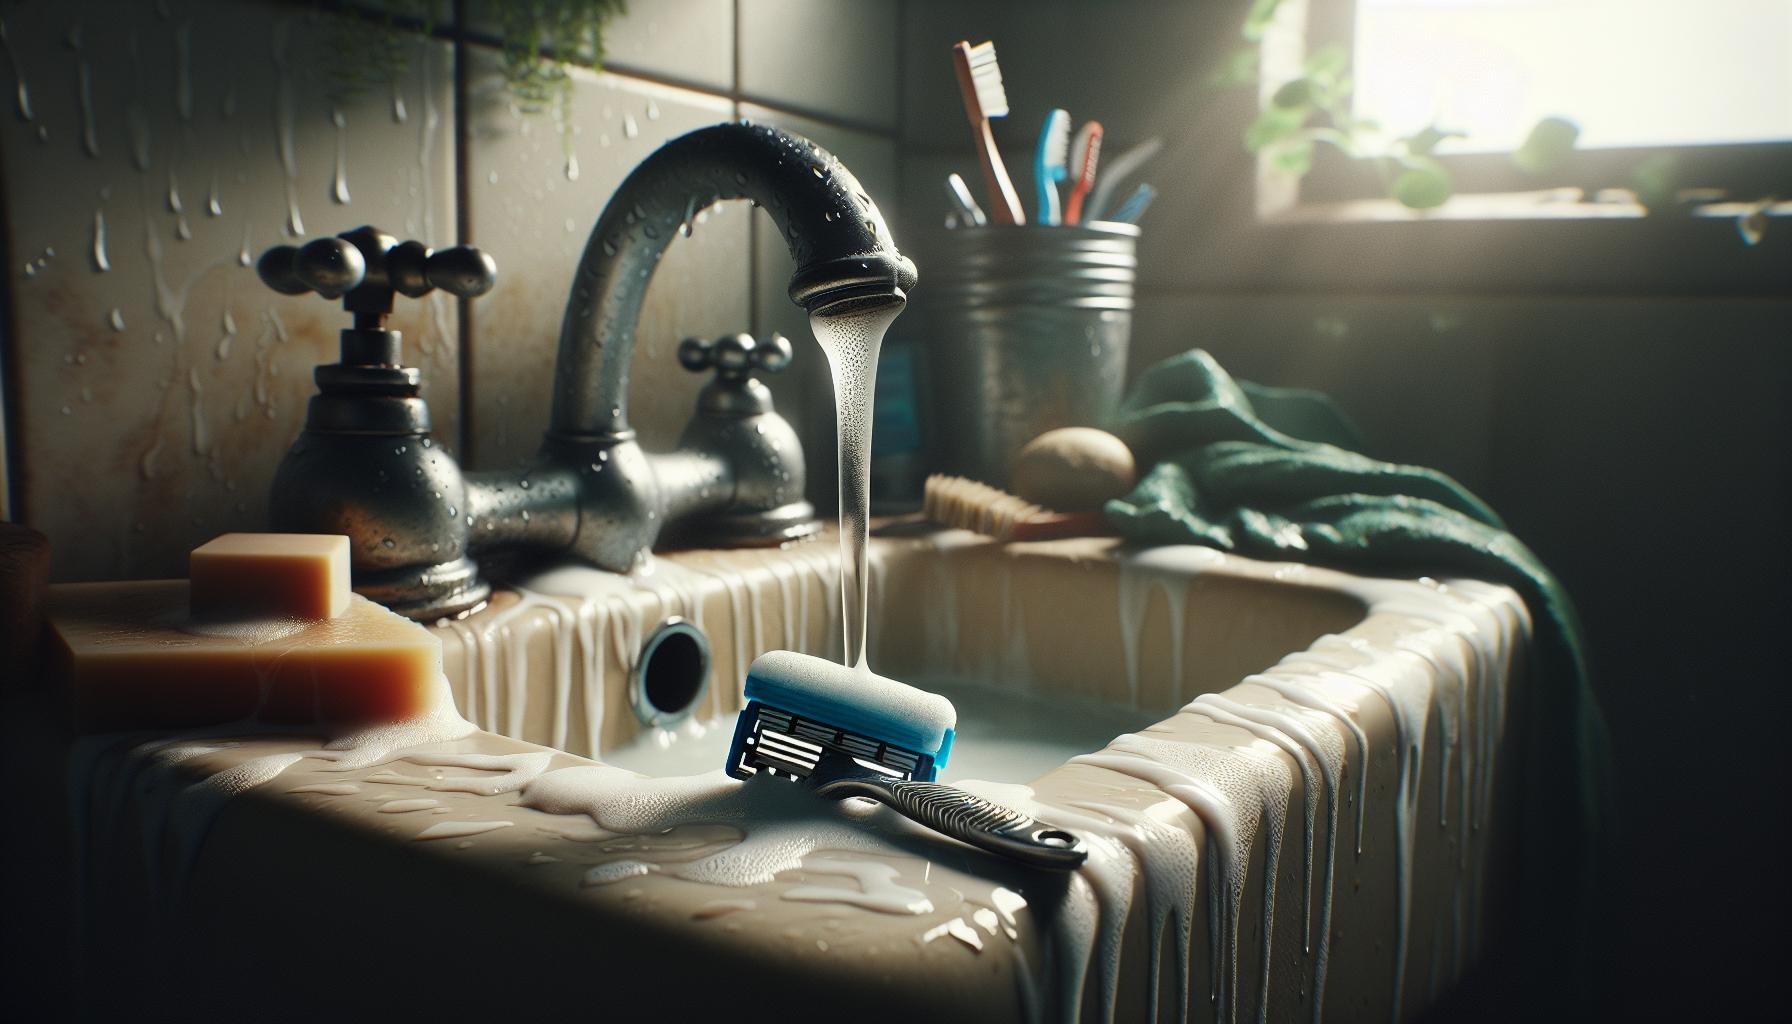
It’s easy to overlook certain details when it comes to keeping your razor clean, but these small missteps can have a big impact on both your shave quality and skin health. One common mistake is not soaking the razor long enough in isopropyl alcohol. Just a quick dip won’t effectively kill bacteria or eliminate buildup; aim for a soak of at least 5 to 10 minutes for optimal disinfection. On the flip side, over-soaking can lead to corrosion if done repeatedly, so moderation is key.
Another frequent pitfall is failing to clean the areas around the blades thoroughly. This often happens because users assume that a quick rinse will suffice. However, gunk can accumulate in hard-to-reach spaces, leading to dullness and potential skin irritation. Utilizing a soft-bristle toothbrush to scrub between the blades ensures that debris is removed, promoting a smoother shave. Don’t rush this step; take your time to ensure that all residue is cleared away.
Storage practices also play a crucial role in maintaining your razor’s hygiene. A common error is placing the razor back in a damp area, such as a shower caddy or a medicine cabinet without airflow. This can foster bacteria growth instead of preventing it. Instead, opt for a dedicated stand that allows air circulation. Lastly, neglecting the frequency of blade replacements can undermine all your cleaning efforts. Old blades harbor more bacteria and can lead to increased skin irritation and cuts, which completely negates your sanitization routine.
By being mindful of these common oversights-proper soaking time, thorough cleaning of the blade areas, appropriate storage, and regular blade changes-you can enhance your shaving experience while promoting healthier skin. Without these adjustments, even the best sanitization practices will only take you so far.
Natural Alternatives for Razor Disinfection
Using natural alternatives for disinfecting your razor can be an eco-friendly and skin-sensitive way to maintain hygiene without the harsh chemicals found in many commercial products. Essential oils, vinegar, and baking soda are not only effective at combating bacteria, but they also provide additional skin-soothing properties that can enhance your overall shaving experience.
One effective alternative is tea tree oil, renowned for its natural antiseptic and antifungal properties. Simply mix a few drops with water to create a solution. Soak your razor for about 10 minutes. This helps eliminate germs while also offering a subtle scent that can invigorate your shaving routine. Another option is vinegar, which can also serve as a natural disinfectant. Mix one part vinegar with two parts water, soak your razor in the solution, then rinse thoroughly. Vinegar is excellent for breaking down buildup and disinfecting without leaving harmful residues.
Baking soda can be your go-to for a deeper clean. Create a paste with water and gently scrub the razor blades using a soft brush. Baking soda not only helps to scrub away grime but also neutralizes odors, ensuring your shaving tool is fresh. Remember to rinse the razor thoroughly afterward to prevent any gritty residue from affecting your shave.
Incorporating these natural alternatives into your routine not only fosters a cleaner shaving environment but also aligns with more sustainable beauty practices. Making this switch can keep your skin healthy and free from irritation, as these natural ingredients tend to be gentler than their synthetic counterparts.
How Often Should You Disinfect Your Razor?
The frequency of disinfecting your razor is crucial for maintaining optimal skin health and preventing irritation. Ideally, you should aim to disinfect your razor after every use, especially if you shave daily. This habit minimizes the risk of bacteria build-up, which can lead to breakouts, razor burn, or infections. By taking just a few extra minutes post-shave to sanitize your razor, you’re not only prolonging the life of your blade but also ensuring a cleaner, healthier shave for your skin.
In instances where you may only shave a few times a week, disinfecting your razor at least once a week is a good rule of thumb. This will help eliminate any bacteria or residue accumulated during your shaving sessions. If you have particularly sensitive skin or if you notice any irritation, consider increasing the frequency to every use. Applying this simple practice can significantly impact your overall shaving experience and skin health.
When sanitizing, remember that thorough cleaning isn’t just about washing; it’s about using the right technique and products. After disinfection, dry your razor completely to prevent moisture accumulation, which can foster bacterial growth. Store it in a clean, dry place out of direct moisture, and your skin will thank you for the effort. By committing to this regimen, you’re taking a proactive step towards nurturing your skin and enhancing the effectiveness of your grooming routine.
Proper Storage: Keeping Your Razor Clean
Keeping your razor clean extends beyond the act of disinfecting; proper storage plays a crucial role in maintaining its hygiene and lifespan. Did you know that how you store your razor can significantly impact the number of bacteria it can harbor? If not stored correctly, even a freshly sanitized razor can become a breeding ground for germs. Therefore, let’s dive into some effective practices to ensure your razor stays as clean as possible.
To begin with, ensure your razor is completely dry before storing it. Water can encourage bacteria and mold growth, so after sanitizing, gently shake off any excess water and pat the blades dry with a clean towel. If possible, let your razor air-dry completely in an open space away from moisture. This simple act not only reduces the risk of microbial contamination but also helps prevent rust from forming on your blades.
Next, consider your storage options carefully. Avoid keeping your razor in a damp place, such as near the shower or in a medicine cabinet that frequently gets steamy. Instead, opt for a dry area where airflow is good. Using a designated razor stand or holder can be a great way to keep it upright and free from contact with surfaces that may harbor bacteria. Additionally, using a storage solution that covers the blades can further protect them from dust and moisture without trapping air-which could lead to corrosion.
If you’re traveling, invest in a travel case or blade cover specifically designed for razors. This not only protects the blades from damage but also prevents any accidental exposure to germs from other items in your bag. Remember, a little thought into how you store your razor can make a substantial difference in your shaving experience and skin health.
Overall, by keeping your razor dry and stored properly, you’re extending the life of your blades while ensuring that each shave is as clean and healthy as possible. Taking these small steps will yield significant benefits for both your grooming routine and your skin.
The Importance of Changing Razor Blades
Using a dull or worn-out razor blade is one of the most common mistakes people make that can lead to discomfort, irritation, and even infection. It’s easy to overlook how crucial it’s to change your razor blades regularly, but doing so is essential for maintaining healthy skin and an effective shaving routine. Research suggests that changing your blade every five to seven shaves, or sooner if you notice any pulling or tugging, can dramatically enhance your shaving experience.
Each shave dulls the blade, causing it to drag across your skin rather than glide smoothly. This drag not only makes for a less enjoyable shave but can lead to nicks, cuts, and razor burn. If you’re using a multi-blade razor, remember that each blade becomes less effective over time. Hence, replacing them on a set schedule can help ensure a close and comfortable shave every time. For instance, if you shave daily, aim to replace the blades at least once a week to keep them at peak performance.
Another important consideration is hygiene. A used blade is more prone to harboring bacteria from your skin, shaving cream, and the water in your shaving area. Regularly changing your blades reduces the potential for introducing harmful bacteria to open cuts or minor abrasions that may occur during shaving. Furthermore, blunting the edge of your razor encourages you to apply more pressure, which can contribute to skin irritation and increase the risk of ingrown hairs.
Consistent blade replacement can be a game-changer in your grooming routine. Here’s a quick summary to keep in mind about its significance:
- Enhanced Performance: Fresh blades cut cleanly and smoothly.
- Skin Health: Reduces the risk of cuts, irritation, and infection.
- Comfort: Less pulling leads to a more pleasant shaving experience.
- Hygiene: Decreases the likelihood of bacteria buildup.
Incorporating this simple task into your routine ensures that your grooming time is not only effective but also safe for your skin. Doing so consistently aligns with proper sanitization techniques and overall skin health, making it a vital part of your shaving habit.
Tips for Maintaining a Clean Shaving Routine
Maintaining a clean shaving routine is essential for both effective grooming and skin health. A clean razor not only provides a smoother shave but also significantly reduces the risk of irritation and infections. By following a few simple practices, you can enhance your shaving experience and promote healthier skin.
One of the fundamental aspects of a clean shaving routine is proper post-shave care. After using your razor, rinse it thoroughly under warm water to remove hair, shaving cream, and debris. To take it a step further, soak the razor in a disinfectant solution for a few minutes. This could be as straightforward as using rubbing alcohol or a specialized razor disinfectant. Once disinfected, rinse it again and let it air dry completely. This prevents moisture build-up, which can promote rust and bacteria growth.
Storage also plays a crucial role in maintaining razor cleanliness. Always store your razor in a dry place to inhibit mold and bacteria growth. Consider using a razor stand that elevates it to allow for proper air circulation. Avoid leaving your razor in the shower or bathroom where humidity can create a breeding ground for germs. Instead, designate a cool, dry area for your grooming tools.
Another essential tip is to routinely inspect your razor blades for signs of wear or damage. Discerning users replace blades after every five to seven shaves; however, staying alert for pulling or tugging during shaving can guide you to replace them sooner. Fresh blades not only shave better but also minimize the risk of cuts and irritation.
Lastly, don’t overlook your shaving cream or gel; ensure you use quality products that suit your skin type. A rich, moisturizing lather protects your skin and allows the blade to glide seamlessly, further reducing the potential for irritation. Remember, a clean razor, coupled with high-quality shaving products, creates a seamless, irritation-free grooming experience.
By making these practices a part of your routine, you’re not just ensuring a close shave but also prioritizing your skin health and overall grooming wellness.
Addressing Germs: Myths vs. Facts
Did you know that your razor can harbor more bacteria than a toilet seat? This shocking fact emphasizes the importance of maintaining proper hygiene while shaving. However, amidst the concern over germs and bacteria, several myths have emerged that can mislead you about how to effectively disinfect your razor and maintain your skin’s health.
Many people believe that simply rinsing their razor under water after use is enough to keep it clean. In reality, while rinsing removes some debris, it doesn’t eliminate all germs. To truly sanitize your razor, a more thorough approach is needed. Soaking your razor in a solution of rubbing alcohol or a specialized disinfectant for a few minutes is crucial. Not only does this kill harmful bacteria, but it also helps to prevent rust by eliminating moisture from the blades.
Another common misconception is that you’re safe from germs if you just keep your razor in a sealed container. In truth, enclosed spaces can trap moisture and promote bacteria growth, leading to a higher risk of irritation and infection. Instead, store your razor in a dry, open area with good air circulation. Consider using a razor stand that allows your razor to drain and dry properly, further reducing bacteria buildup.
It’s also important to address the belief that all germs are harmful. While it is true that many bacteria can cause skin issues, not all bacteria are bad. Your skin is home to a natural microbiome that includes beneficial bacteria. The goal is to strike a balance: eliminate harmful pathogens without disrupting your skin’s natural defenses. This is why regular disinfection and replacing blades as needed are so vital.
In summary, busting these myths can significantly enhance your shaving routine. Remember to soak your razor in disinfectant regularly, provide a dry storage environment, and replace blades frequently to keep irritation at bay. By taking these steps, you’re not only grooming effectively but also prioritizing your overall skin health.
Signs You Need to Replace Your Razor
It’s easy to overlook the condition of your razor, but being mindful of its wear is crucial for maintaining a smooth shave and healthy skin. Using a dull or damaged blade can lead to irritation, ingrown hairs, and even cuts. So, how do you know when it’s time to invest in a new razor or replace the blades? Here are some telltale signs to keep in mind.
First, if you find yourself applying more pressure than usual to get a close shave, it’s a red flag. A quality razor should glide effortlessly over your skin, and any resistance you experience typically indicates that the blade has dulled. It’s also worth noting the appearance of your blade; if you see rust, nicks, or any discoloration, it’s time for a change. Rust not only degrades the efficacy of the blade but can also introduce harmful bacteria to your skin.
Another significant sign is increased skin irritation. If you notice that you’re experiencing razor burn or bumps after shaving, particularly if this is a new development, evaluate the condition of your razor. An old razor can cause more friction, resulting in inflammation. Similarly, if you’ve started to notice more ingrown hairs, this could be linked to using a less effective blade that is no longer cutting the hair cleanly.
Finally, consider how long you’ve had your current blade. As a rule of thumb, replace disposable razors after 5-7 uses, while double-edged safety razors might need new blades every 7-10 shaves, depending on your hair type and shaving frequency. Keeping track of your shaving schedule can help prevent detrimental effects on your skin due to a worn-out blade.
By being proactive about recognizing these signs, you can enhance your shaving experience while ensuring your skin remains healthy and irritation-free. Always remember, a sharp, well-maintained razor is essential for achieving the best results in your grooming routine.
Additional Tips for Sensitive Skin Shaving
Sensitive skin requires extra care during shaving to prevent irritation and discomfort. A solid part of this routine is ensuring that your razor is not only sharp but also free of harmful bacteria and buildup, which can exacerbate skin sensitivity. Here are some essential tips that can make a significant difference for those with delicate skin.
Start by cleaning your razor after each use. Rinse it thoroughly under hot water to remove hair, cream, and skin cells. This simple step prevents bacteria from accumulating on the blade and guard, which could lead to inflammation. Once rinsed, consider soaking the razor in a solution of warm water and a few drops of antibacterial dish soap for about 10 minutes before rinsing it again. This aids in killing any leftover germs without the use of harsh chemicals.
When it’s time to shave, don’t skip on the shaving cream. Opt for a fragrance-free, hydrating formula designed for sensitive skin. Apply a generous layer, allowing it to sit for a minute to soften hairs, thereby reducing friction as you shave. Use a light, gentle touch and remember that your razor should glide seamlessly over the skin. If you feel any resistance, it might be time for a new blade; a dull razor increases the risk of nicks and irritation.
After shaving, always apply an alcohol-free aftershave balm or moisturizer that contains soothing ingredients like aloe vera or chamomile. This not only hydrates the skin but also calms any irritation that may have occurred during shaving. Aim to do this within five minutes of finishing your shave to lock in moisture.
Finally, consider your razor storage. Store your razor in a dry place rather than in the shower, where it can be exposed to moisture and bacteria. Use a razor holder or let it dry upright after each use to help prevent rust and mold, which can aggravate sensitive skin. By adopting these practices, you’ll create a safer and more comfortable shaving experience tailored to your skin’s needs.
Faq
Q: How can I effectively disinfect my razor after each use?
A: Disinfect your razor by rinsing it thoroughly under hot water to remove hair and shaving cream. Then, soak it in a mixture of 70% isopropyl alcohol for about 10 minutes before rinsing again. This method kills bacteria and prevents rusting, helping maintain skin health.
Q: What materials can I use to sanitize my razor?
A: You can use isopropyl alcohol, vinegar, or a specialized razor cleaner. Isopropyl alcohol is particularly effective due to its antiseptic properties. Avoid using bleach, as it may damage the razor’s finish and is not skin-safe.
Q: How often should I disinfect my razor for best hygiene?
A: It’s best to disinfect your razor after every use. Regular sanitization not only prolongs the life of your razor but also reduces the risk of skin irritation and infections, ensuring a healthier shaving experience.
Q: Can I use boiling water to disinfect my razor?
A: Yes, boiling water can effectively disinfect your razor. Simply submerge the razor in boiling water for a few minutes. However, ensure the razor is made of materials resistant to heat, as some plastics may warp.
Q: What should I do if my razor develops rust?
A: If your razor has rust, immediately stop using it and soak the affected area in vinegar for a few hours to help remove the rust. Once cleaned, ensure you properly dry and disinfect it before the next use to prevent further corrosion.
Q: How do I store my razor to keep it clean and disinfected?
A: Store your razor in a dry place, ideally in a vented holder that allows air circulation. Avoid damp bathrooms to prevent mold and bacteria growth. A clean, dry towel can also be used to wipe down the razor after each use.
Q: Are there natural alternatives to chemical disinfectants for my razor?
A: Yes, natural alternatives include white vinegar and tea tree oil. Vinegar is a natural disinfectant that can kill bacteria, while tea tree oil has antimicrobial properties. Dilute one part vinegar with one part water or use a few drops of tea tree oil mixed with water for soaking.
Q: Is it necessary to change the blades when disinfecting my razor?
A: Yes, changing razor blades regularly is crucial for maintaining hygiene and preventing cuts. Even when disinfected, old blades can harbor bacteria. A good rule is to replace blades every 5 to 7 shaves, or sooner if you notice a dullness.
To Conclude
Now that you know how to properly disinfect your razor, you’re well-equipped to maintain your grooming routine with confidence. Proper sanitization not only ensures a smoother shave but also helps prevent skin irritations and infections, giving you the peace of mind to look your best every day. So, don’t wait-make sanitizing your razor a part of your regular self-care regimen!
For more tips on enhancing your grooming routine, check out our guides on “Best Shaving Techniques for Sensitive Skin” and “Choosing the Right Razor for You.” If you found this information helpful, consider subscribing to our newsletter for exclusive insights and special offers straight to your inbox. Remember, a clean razor leads to a clean shave, so take action today and keep those blades in top shape! We’d love to hear your thoughts or tips on this topic in the comments below-let’s keep the conversation going!
Expert Guide: How To Disinfect A Razor
When researching how to disinfect a razor, following structured best practices and expert recommendations is essential for achieving optimal grooming, style, and personal care outcomes. Implementing evidence-based methods protects your skin barrier and extends product longevity.
Essential Tips & Key Recommendations:
- Optimal Preparation: Always prepare the target area with proper cleansing, gentle hydration, or targeted skin conditioning before applying active products or styling techniques.
- Application Technique: Use light, controlled pressure and align with your natural skin contours and hair growth patterns to prevent friction and irritation.
- Post-Application Care: Lock in results with nourishing, non-comedogenic moisturizers or protective barriers to maintain balance and hydration.
- Sanitization & Tool Maintenance: Clean and dry all grooming accessories and applicators immediately after use, storing them in a cool, well-ventilated space.
Frequently Asked Questions:
Q: What is the most critical guideline regarding how to disinfect a razor?
A: Prioritize gentle, consistent care using high-grade, hypoallergenic products and sanitized equipment tailored to your personal routine.
Get our latest guides, news, and insights highlighted in your Google Search & AI Overviews.